

 Nederlands
 Deutsch
B&W CDM 1, P4, P55 & P6 tweeter (ZZ09989 / ZZ9989)
How to repair a B&W CDM1, P4, P55 & P6 (ZZ9989 / ZZ09989) tweeter
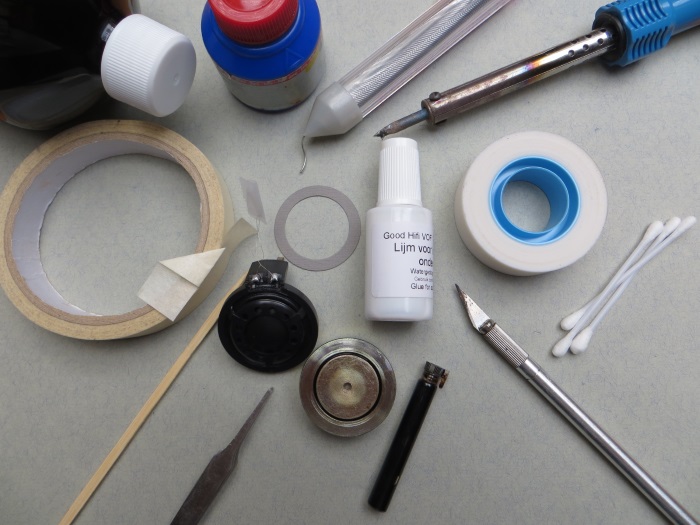
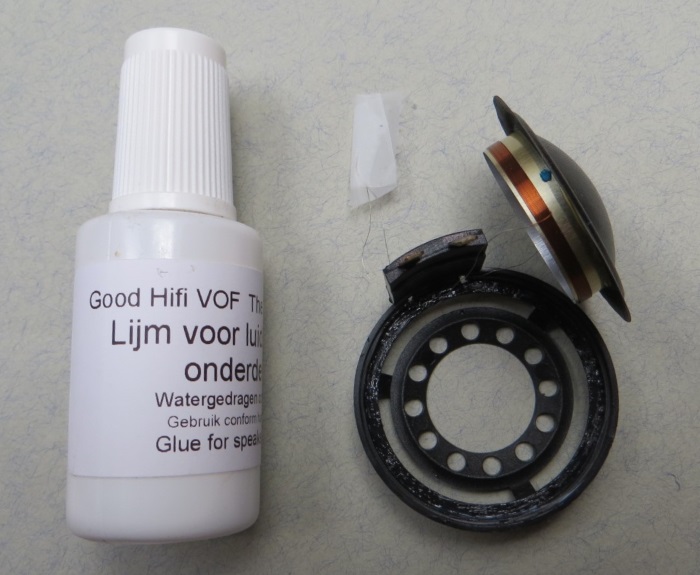
The following tools are required for repair, plus a replacement diaphragm. The diaphragm can be found here. We are sorry, the diaphragms is currently out of stock.
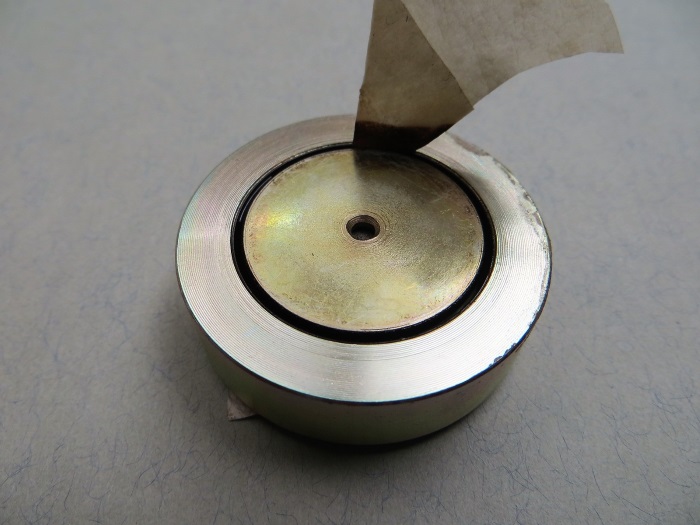
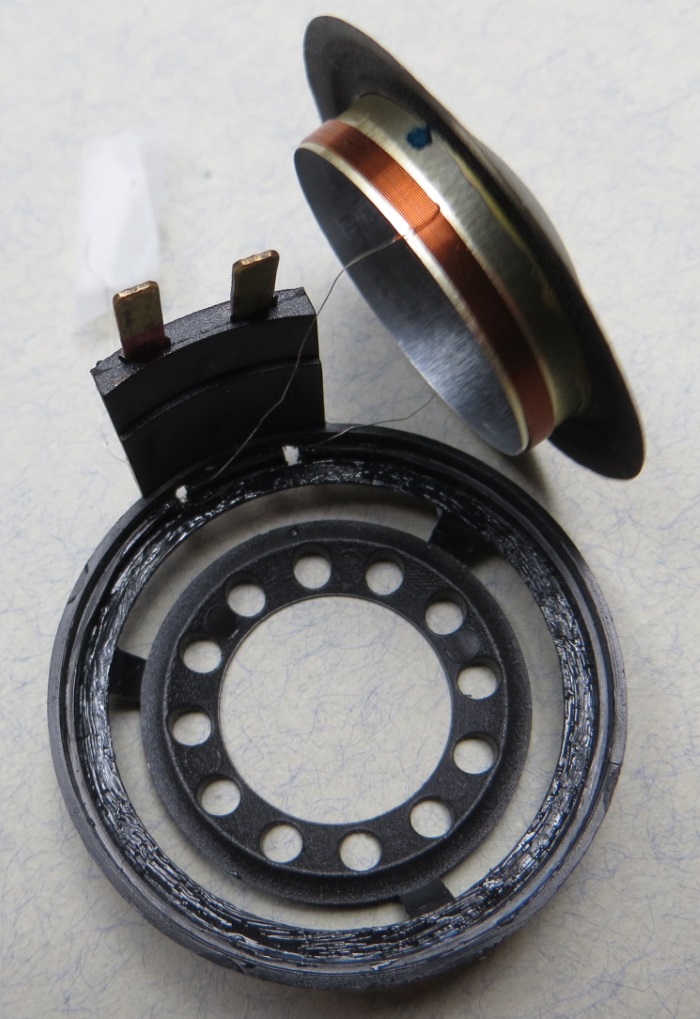
Take the diaphragm of the magnet (clamping system, the top is clamped on the magnet). You are going to remove the old ferrofluid. You will use white masking tape. Tear a piece off. Fold the tip of the tape with the sticky side on the outside. Repeat this several times until you have a solid piece of tape with the sticky side on the outside. This tape will remove the old ferrofluid in the air gap in the magnet. Put your piece of masking tape in the air gap of the magnet and move it around circularly. The old, mucky, ferrofluid will stick to the tape.
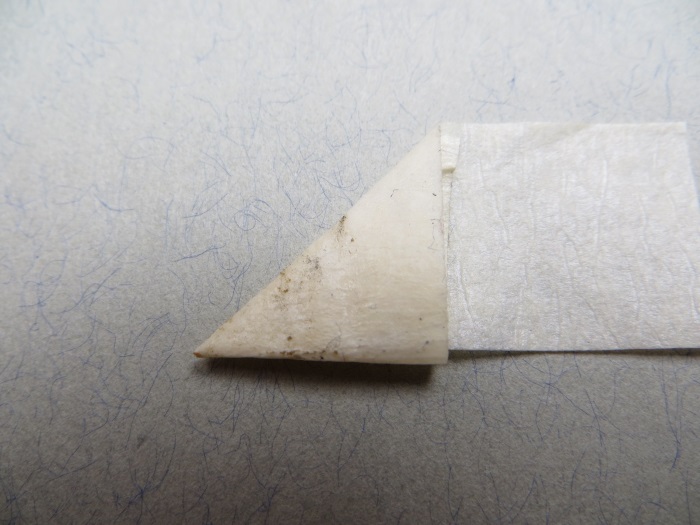
The tape is filled with 'dirt', take a new piece. Move the (clean) tape around as long as ferrofluid comes out. If you put in a new piece of tape and it comes out totally clean you're fine.
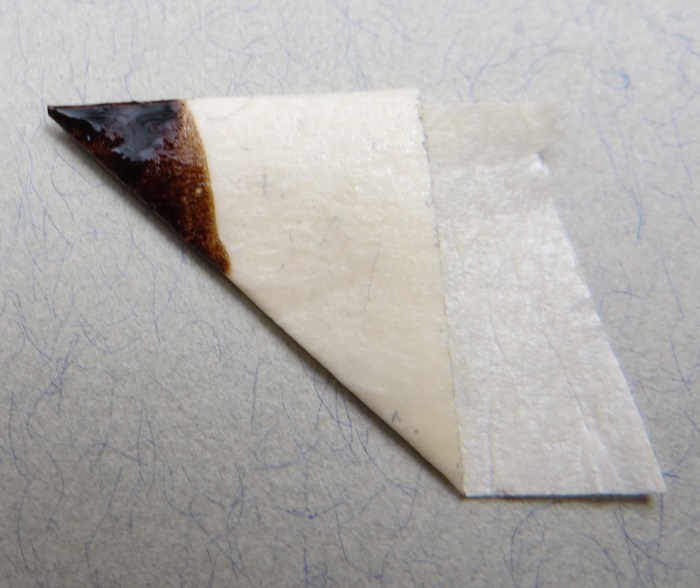
If you put in a new piece of tape and it comes out totally clean you're fine.
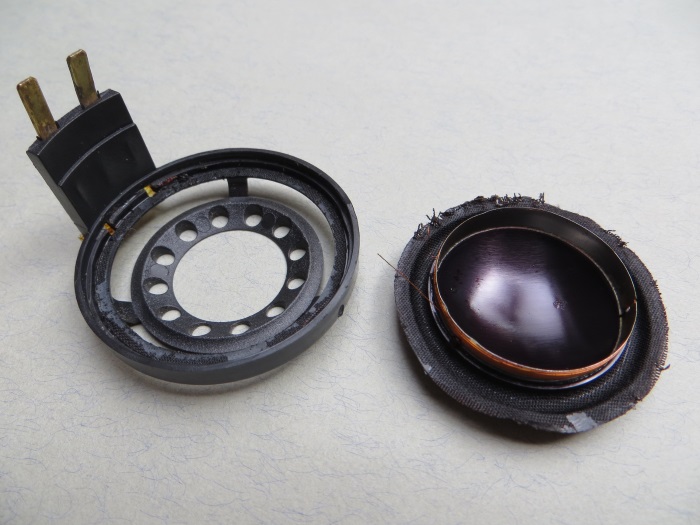
Remove the old diaphragm from the plastic cap. Use, for example, tweezers. Please note the cap / tweeter frame will be used again, make sure not to damage it.
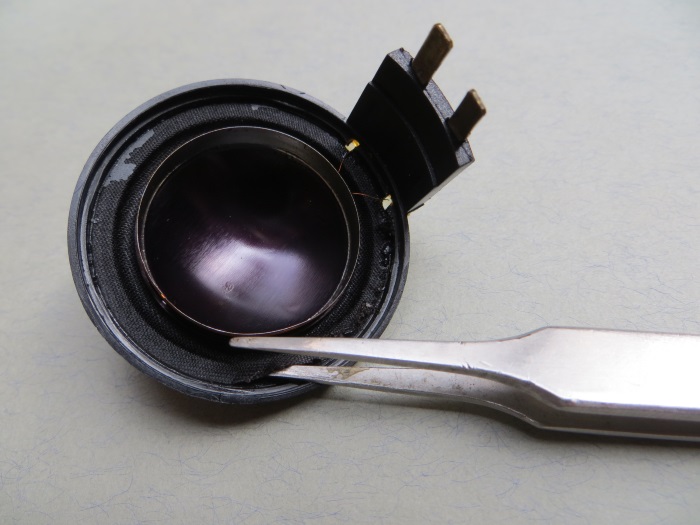
You can throw the diaphragm away, the speaker frame will be used again.
Carefully remove the glue residue from the tweeter frame. We used a sharp hobby knife for this.
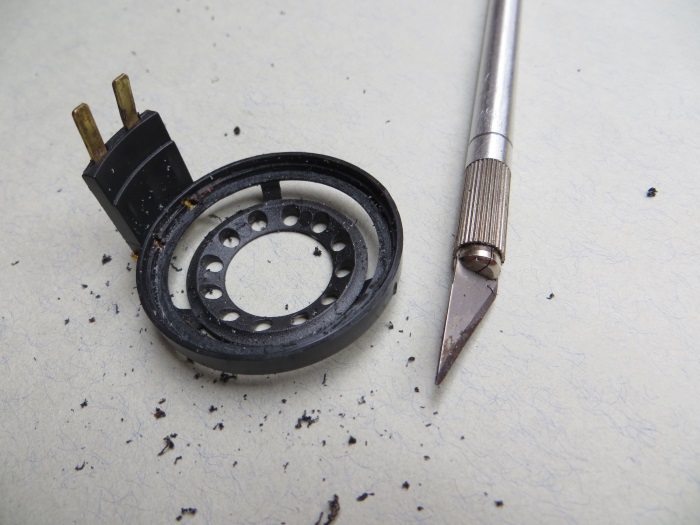
Then degrease the tweeter frame with spirits, ammonia or another degreaser.
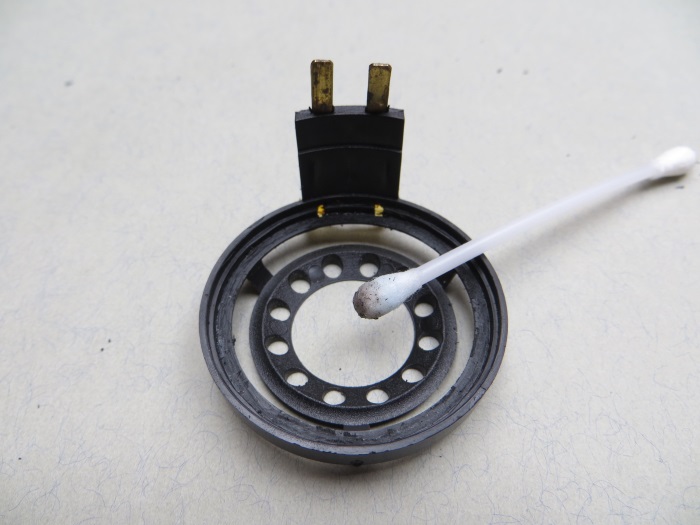
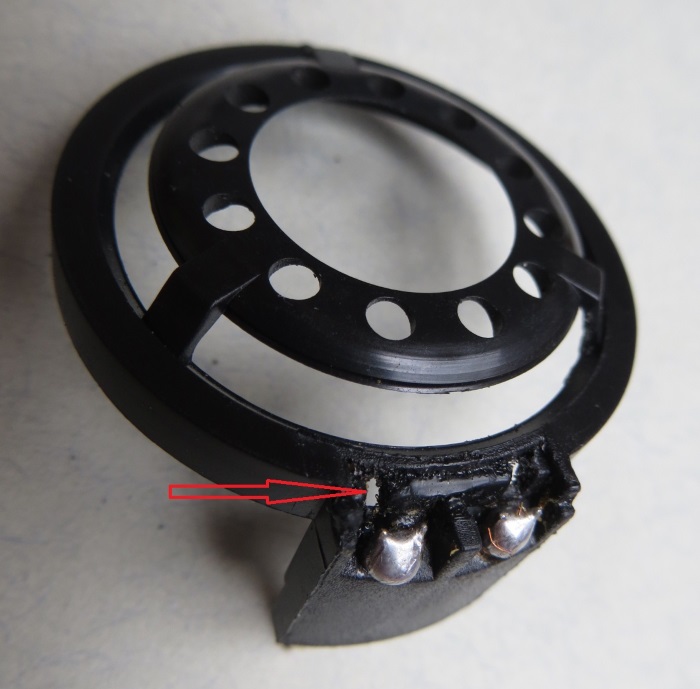
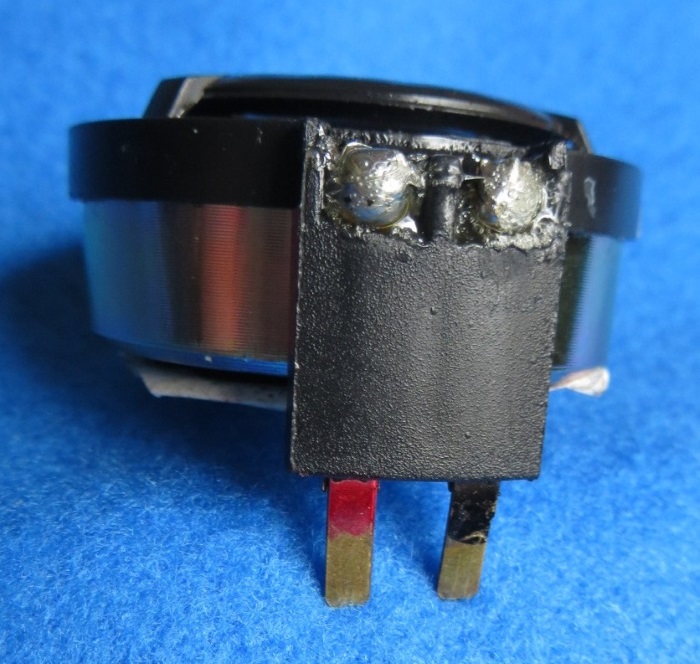
There are adhesive residues on the solder contacts of the tweeter frame, remove it.
Now two small holes are released - these will be used later to direct the diaphragm wires.
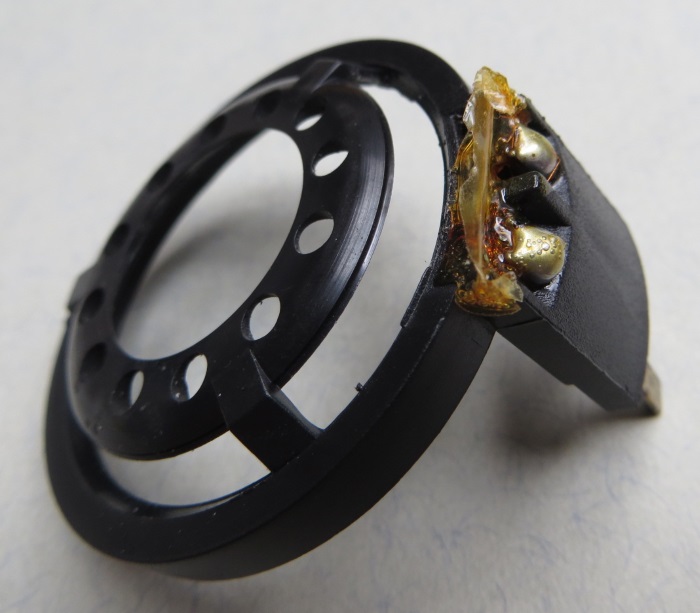
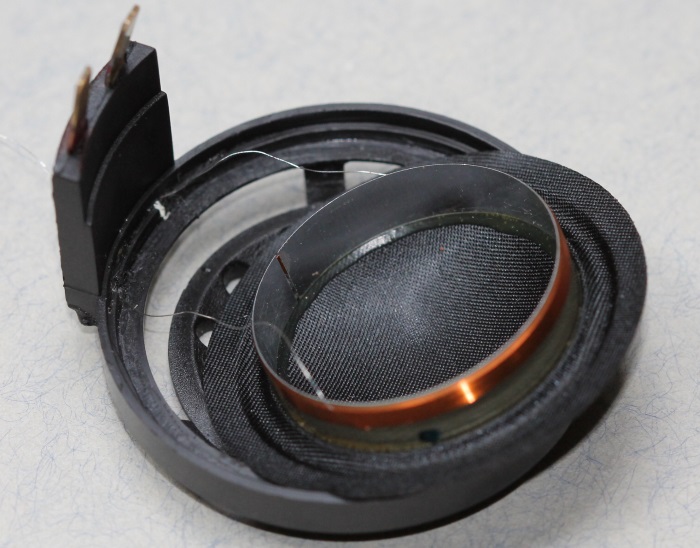
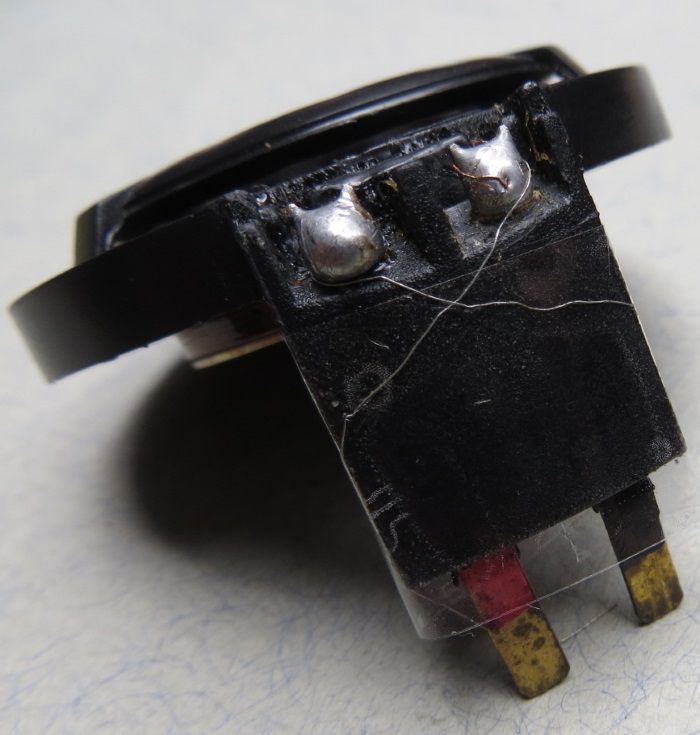
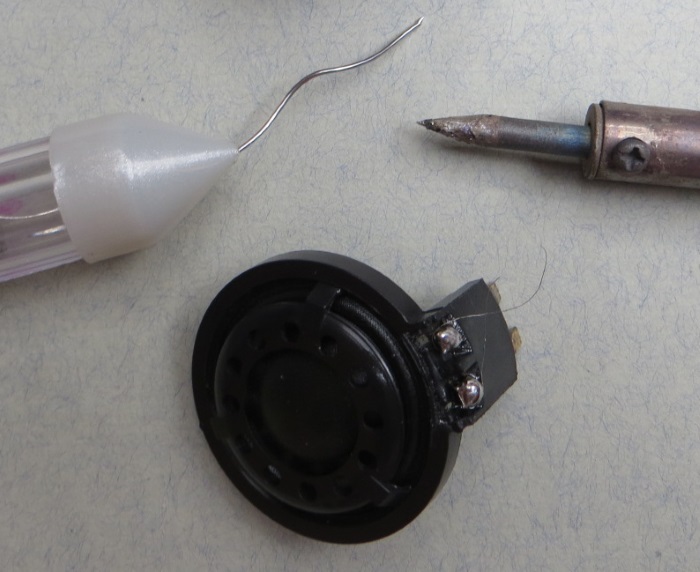
The wires of the diaphragm are inserted through the released holes. The diaphragm side with the blue dot is the positive pole / wire and its wire has to be dircted through the hole leading to the red coloured connector on the tweeter frame. To hold the very thin wires we secured them with adhesive tape.
Detail: The diaphragm wires are guided through the holes in the frame. The wire on the side with the blue dot on the voicecoil extends to the positive connection on the tweeter frame (marked with red).
Apply glue on the inside of the tweeter frame. You can use our speaker glue for this.
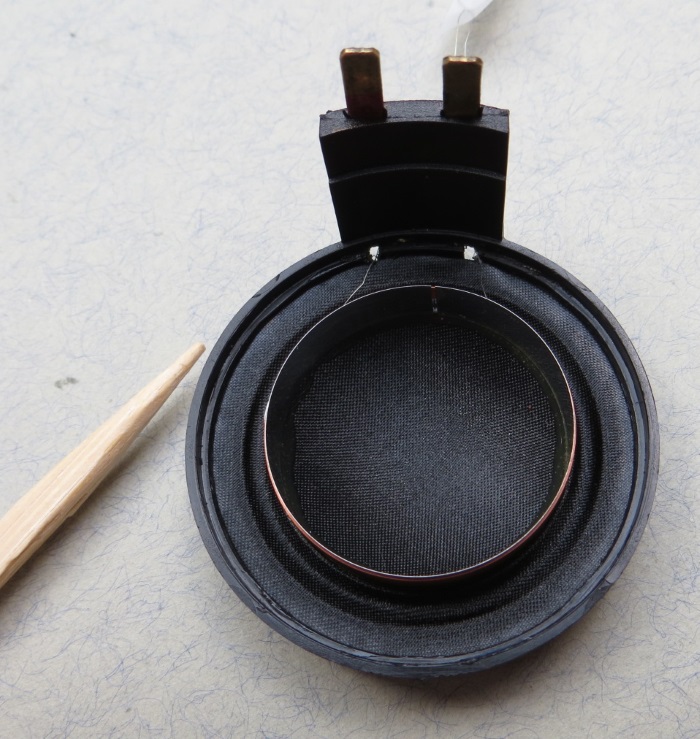
Now glue the diaphragm on the tweeter frame. Make sure that the diaphragm is glued precisely to the center / middle of the ring. You can apply pressure while gluing with something flat, we used a bamboo stick.
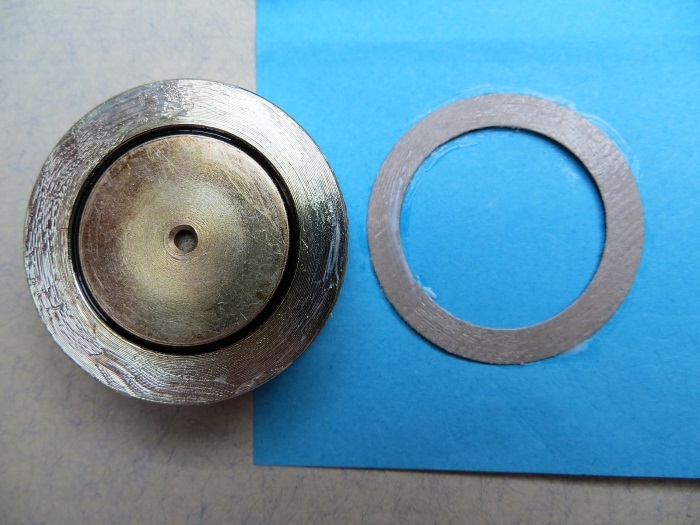
Apply new ferrofluid in the air gap. Do not fill the gap completely, leaving about 1-2 millimeters open. This way, the voice-coil will fit the gap later without the air gap 'overflowing'.
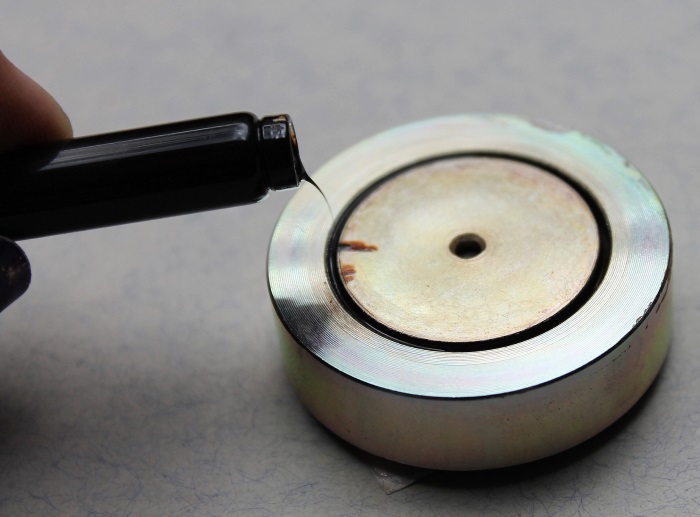
Dosage of the ferrofluid may be difficult. If there is too much in the air gap, insert a piece of paper into the ferrofluid. The paper will "suck" some of the ferrofluid. This allows you to remove some ferrofluid from the air gap.
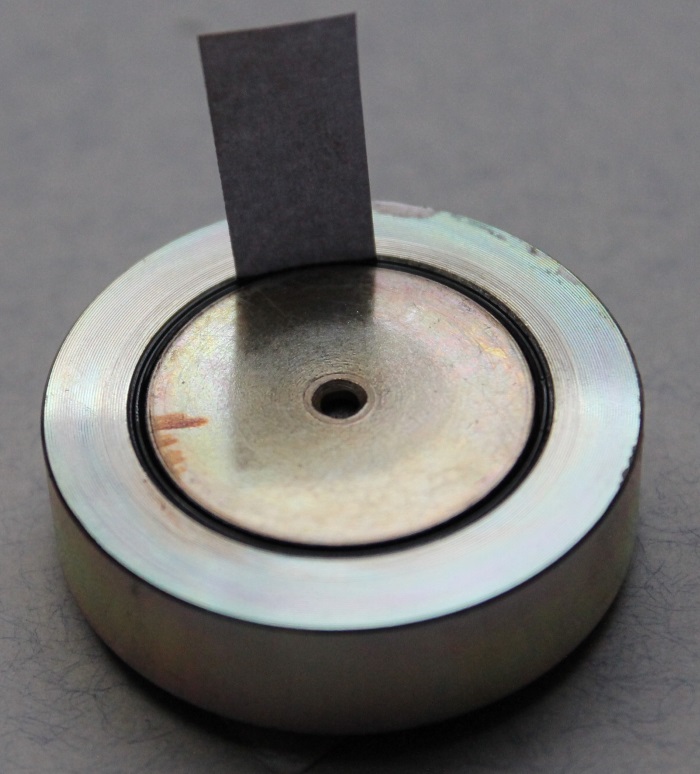
On the magnet we put a paper gasket, which should prevent the wires of the diaphragm (in the future) to contact the magnet and cause short circuits. The gasket is made of thin cardboard, has the same size as the inside of the tweeter frame, and is glued to the magnet with speaker glue.
The tweeter frame connections: The red connector must be connected to the wire leading to the side of the voice coil with the blue dot.
The diaphragm wires run through the holes of the tweeter frame. We secured them with adhesive tape.
Before the wire is soldered, we apply some flux.
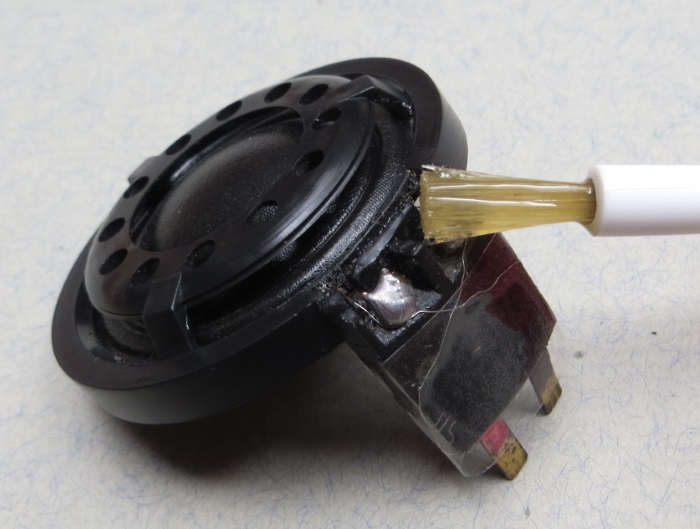
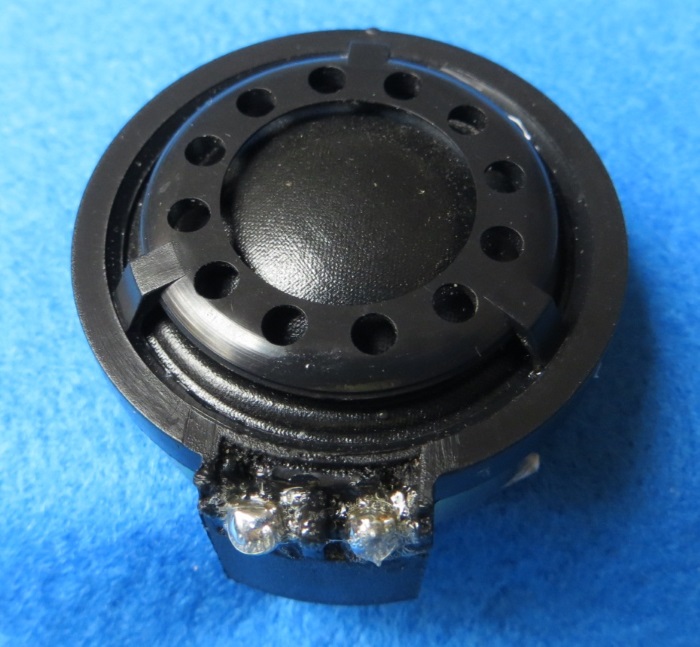
And the wires are soldered to the tweeter frame .... You can cut of the wires after soldering.
Now place the tweeterframe with the diaphragm carefully on the magnet. You can close the holes in the front of the tweeter frame with some glue, but usually these will sealed with tin after soldering the wires.
Finished... Now you can mount the tweeter in the speaker cabinet.

Scary? Afraid to do this yourself? Please contact us, we can provide you with contact details of experienced service personnel for whom this is a piece of cake.
© Good Hifi VOF