

 Nederlands
 Deutsch
Replace rubber surround B&W (ZZ11436) woofer
Replacing Rubber surround of B&W ZZ11436 (DM 602 S2, DM603 S2, DM604 S2 & DM605 S2) woofer / midrange (and similar)
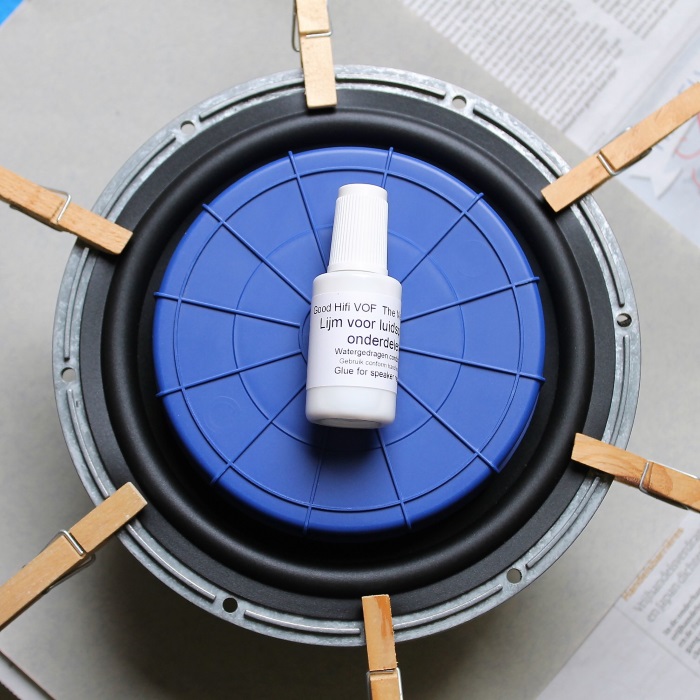
For this repair we used:
- A replacement rubber surround
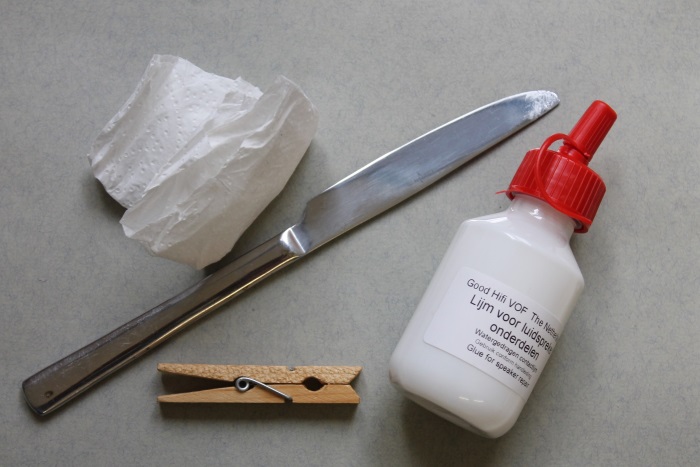
- A bottle of glue with brush
- A number of laundry knifes / squeezers
- A coarse brush
- A stanley knife
- Scissors
- A fineliner (optional)
- A role of painting tape
- Magnetic tape
- A dremel
- Sandpaper (we used grain 240)
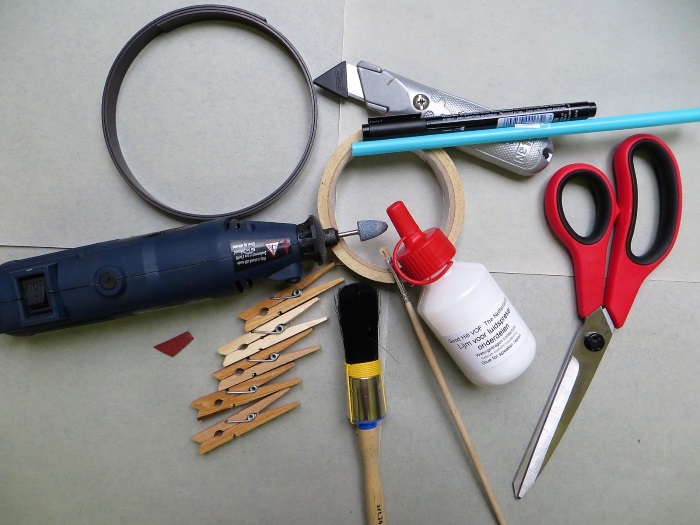
A knife (not sharp) and some tissues will come in handy....
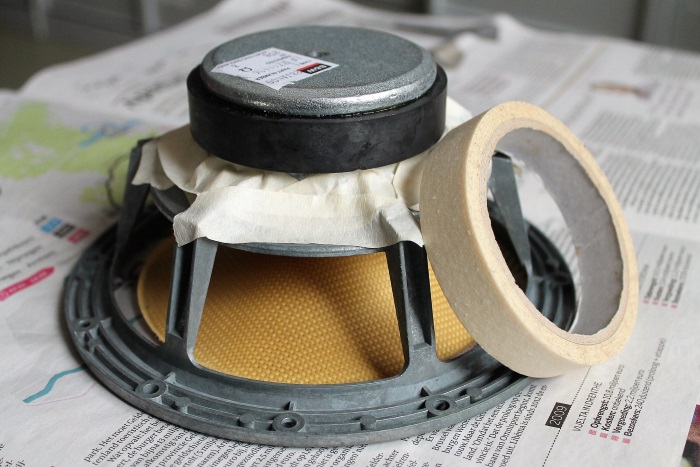
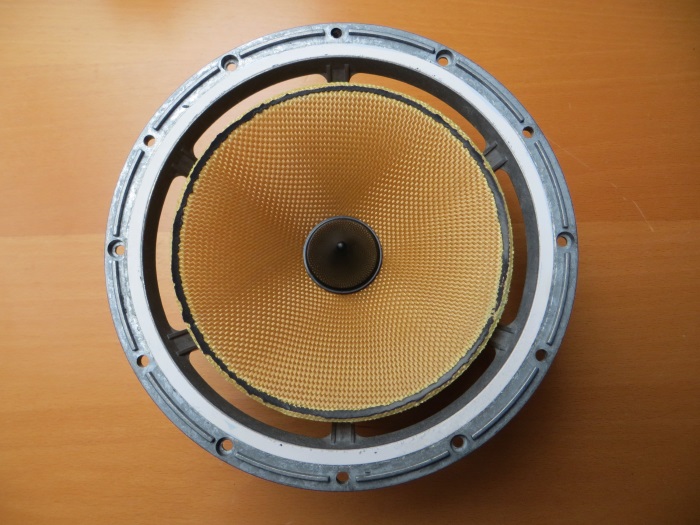
First check the situation around the magnet. With a number of woofers, the space underneath the spider is open and dust can enter the voice coil area. Cover this area using masking tape - later a lot of dust will be released during the repair.
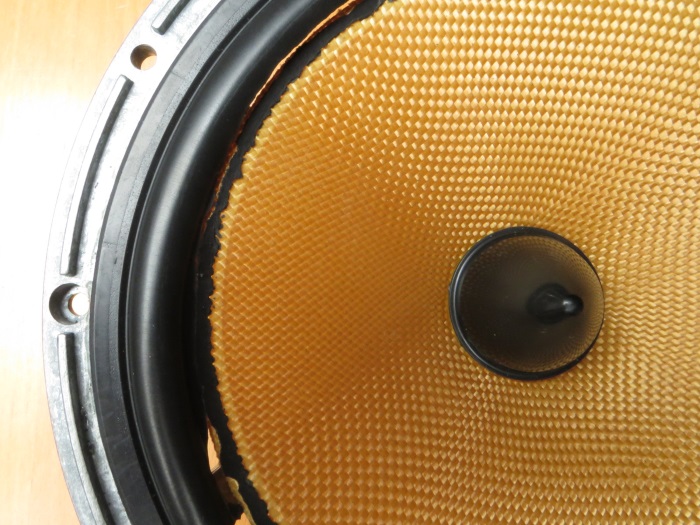
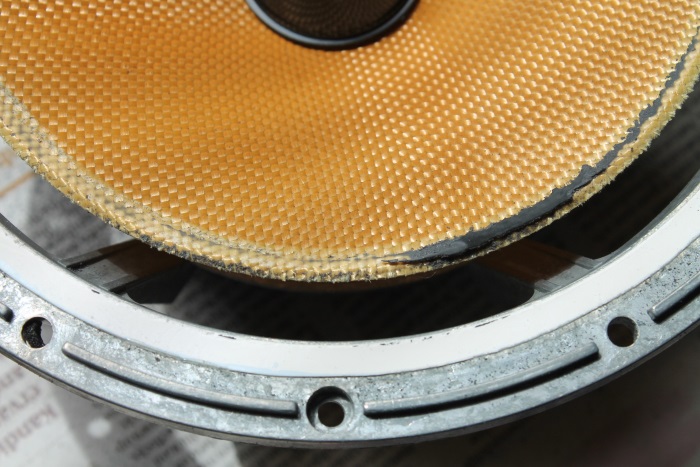
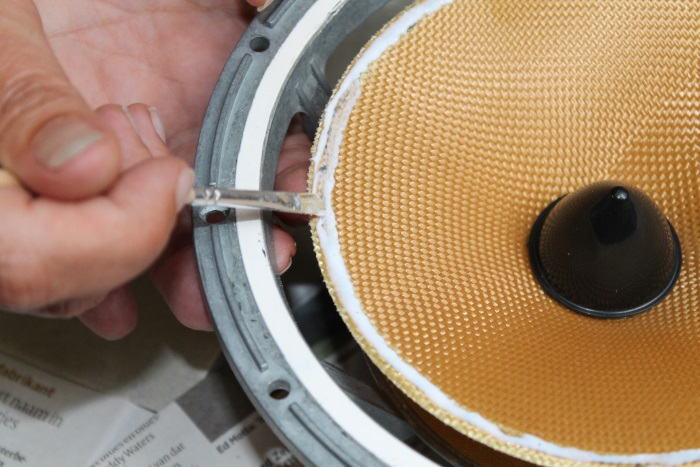
Carefully cut the edge away from the speaker cone. Make sure you do not cut into the cone!
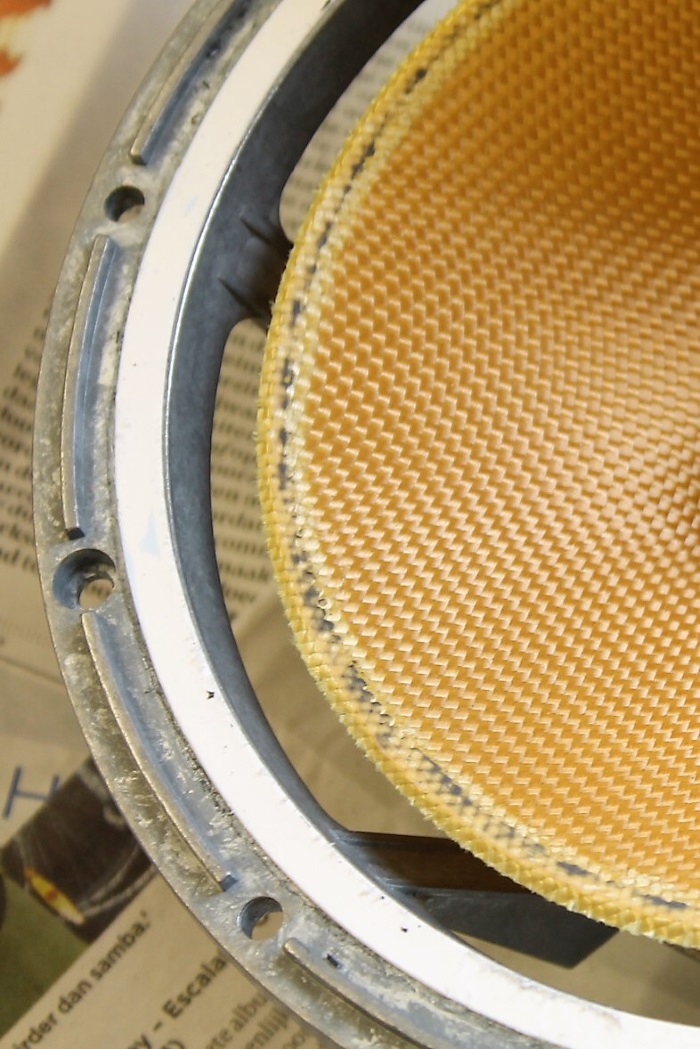
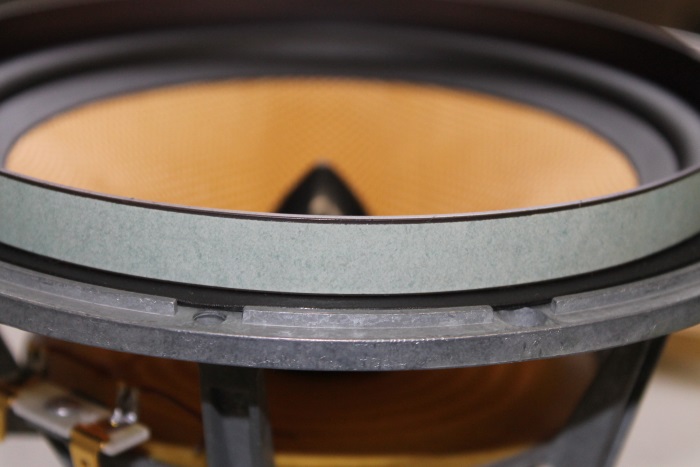
Also remove the residue from the surround of the metal frame - the surround is relatively easy to remove. Below the rubber surround you will find a (white) special ring that allows to easily attach to the frame - leave it intact. The new surround will be glued on top of it later.
Now remove the remains of the rubber surround attached to the cone using the dremel. Support the cone with one hand and remove the old surround with the dremel. Remove 5-7 cm surround at a time.
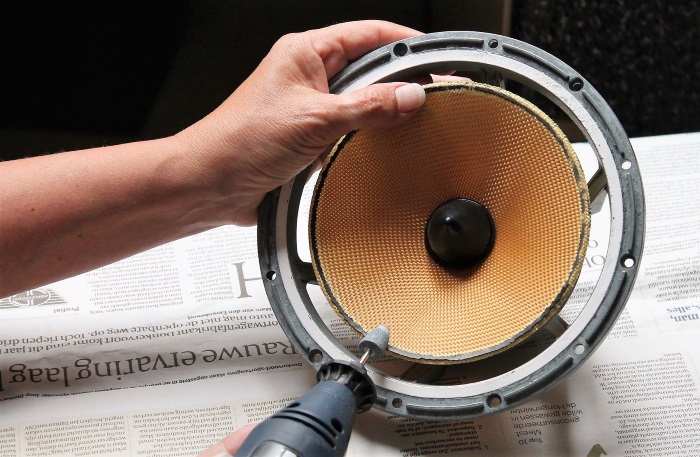
Everything gets black from the black dust. So stop if you have cleaned a few inches of the cone.
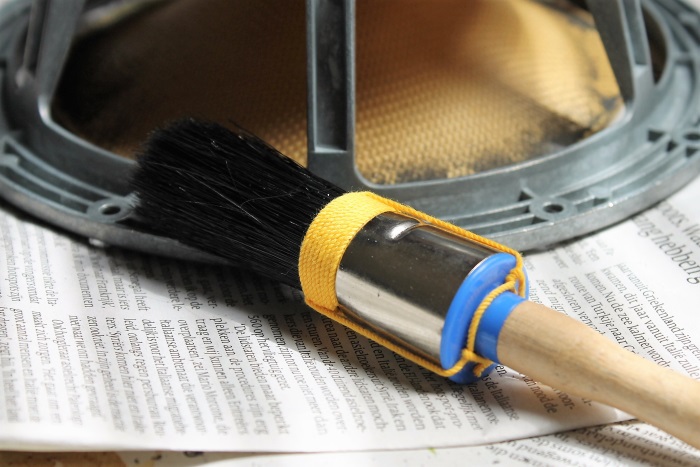
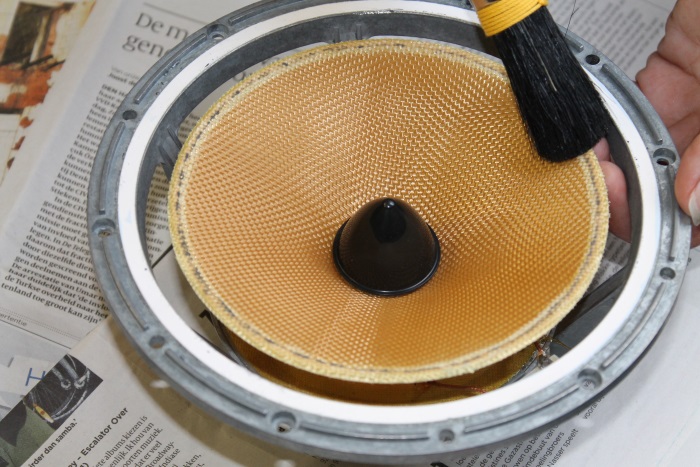
Clean the front and back of the cone regularly with the large brush so you can see what you are doing.
Because with a clean cone you can work much more precisely ......
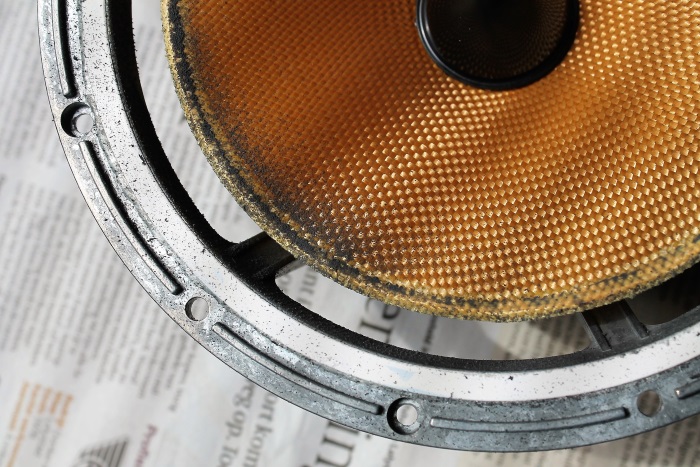
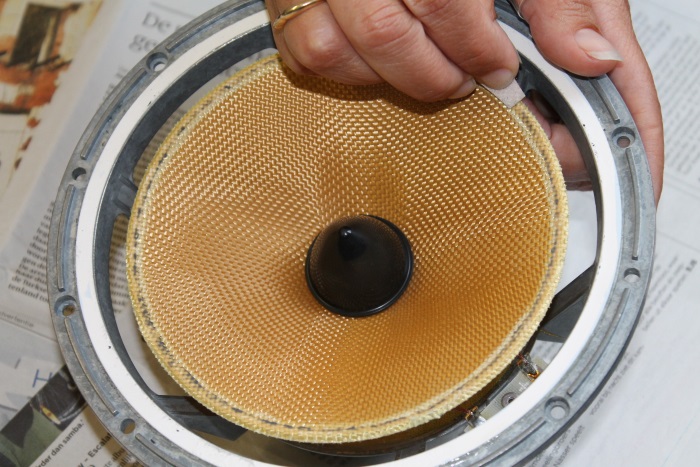
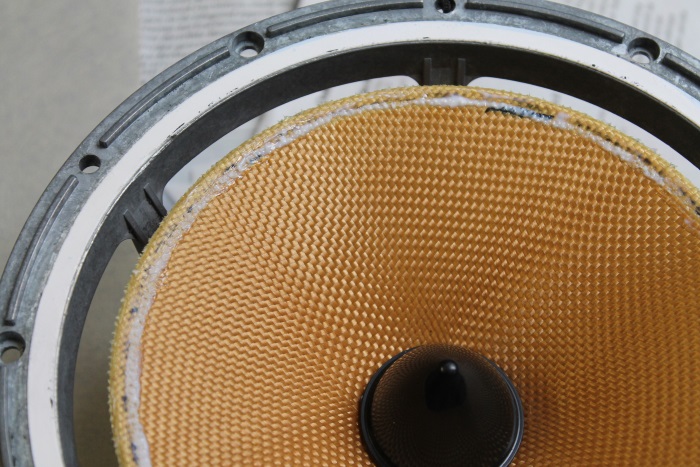
After treatment, the cone has been cleaned for 99% but is undamaged.
Make the outer edge of the cone a bit rough with a piece of sandpaper. We used P240.
And make the cone completely dust free again. If necessary, you can degrease the cone. Also make sure the white ring on the frame is dust-free.
Apply glue to the inner lip of the rubber surround ... Shake the glue well before use.
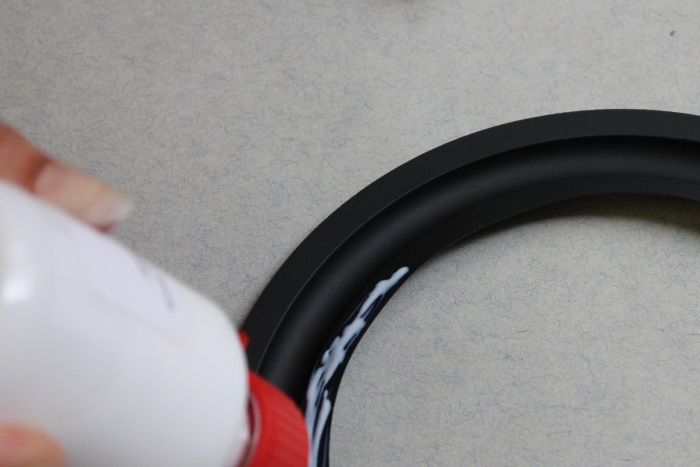
... and spread it with the supplied brush.
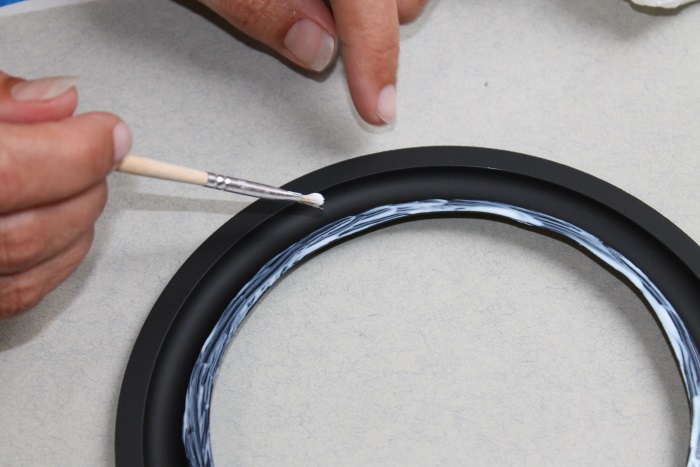
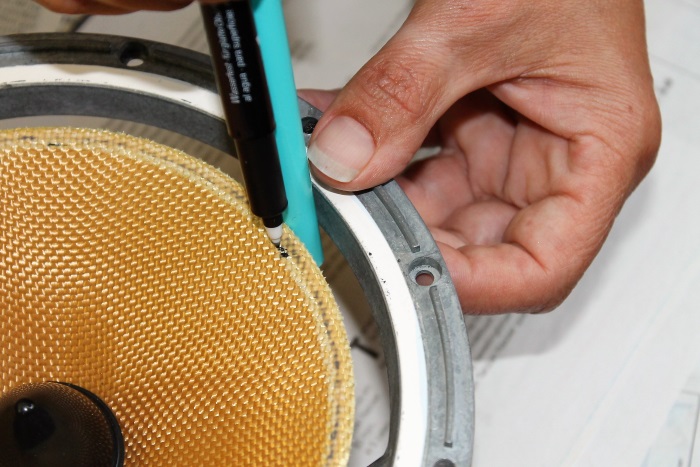
If needed you can mark the 'gluing zone' on the cone with a fineliner mounted on a 'spacer'.
Apply glue to the outer rim of the speaker cone.
Don't apply too much glue. Spread it out using the brush.
Wait for the glue to dry a little bit. The glue will become a bit transparant.
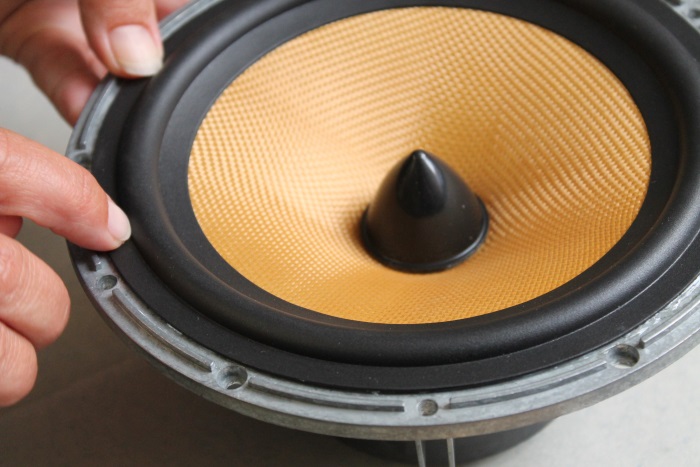
Now glue the inner lip of the rubber surround onto the cone. Support the cone with your other hand.
Then put a weight on the inner lip / cone (not too heavy) so that the surround and cone stick together.
An alternative weight ..... Let the glue dry for at least 12 hours.
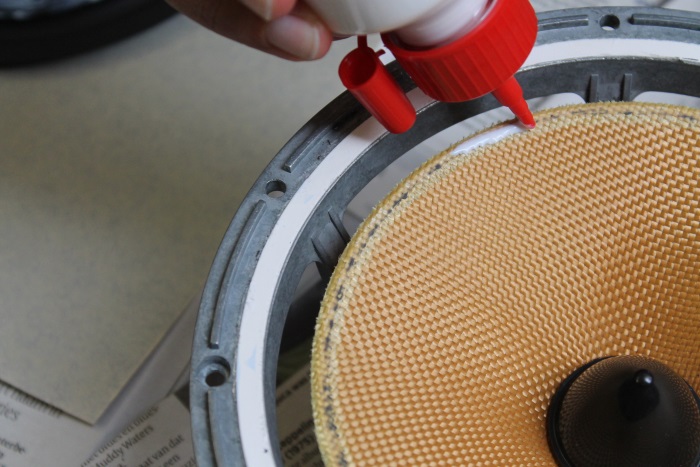
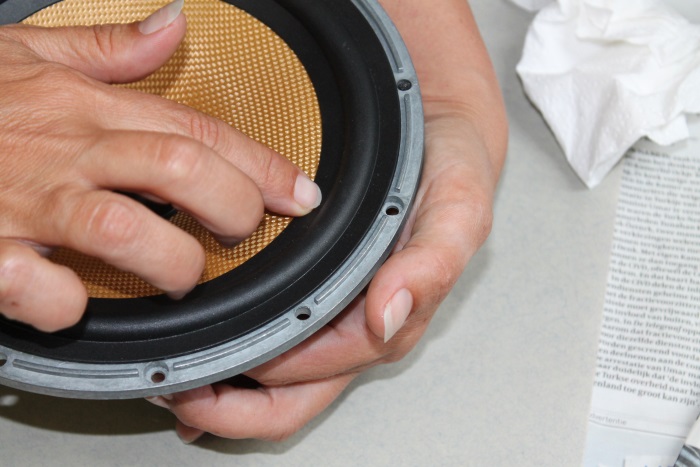
Now glue the surround on the white ring on the woofer frame. Lift the surround, and apply the glue. Repeat until the outer edge is glued to the white ring.
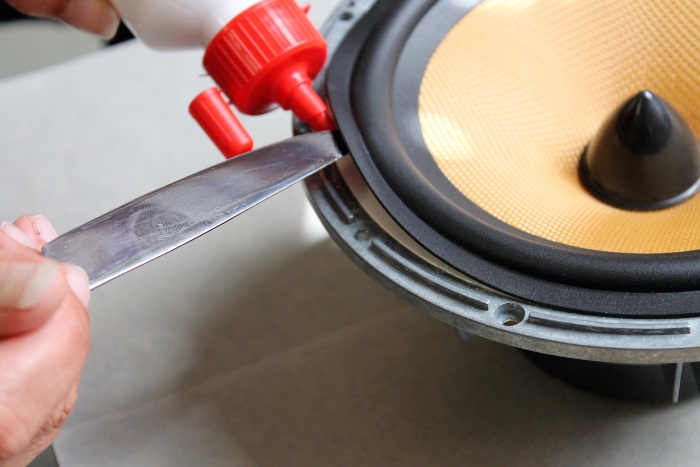
You can press the outer lip of the surround gently. Be careful just to apply pressure so the glue will 'stick' and not move the surround horizontally.
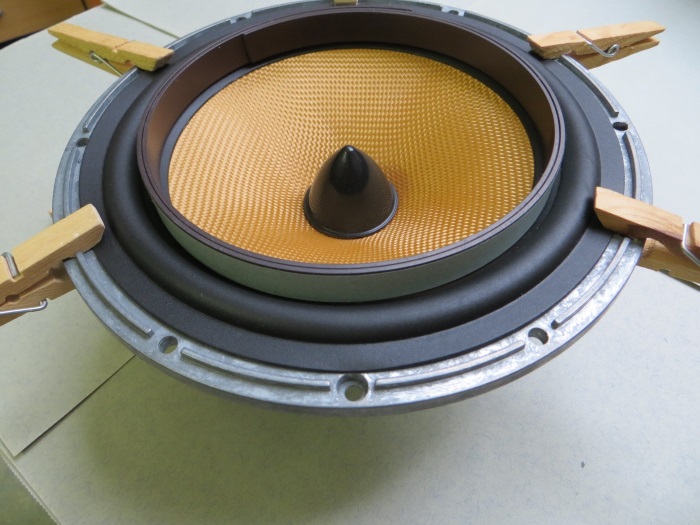
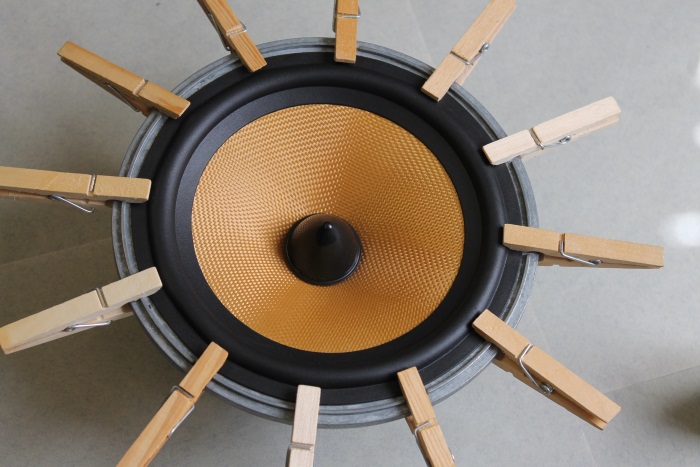
Apply pinchers around the cone attaching the outer flip of the surround to the frame. Put in such a way that the pinchers do not deform the surround / bulge or move the outer lip of the surround.
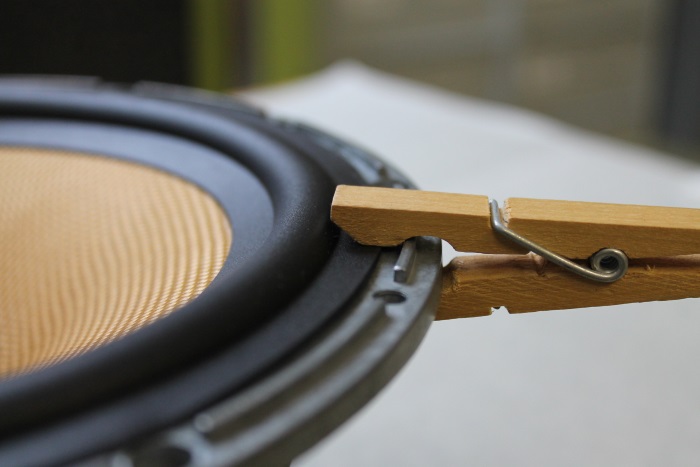
In close up....
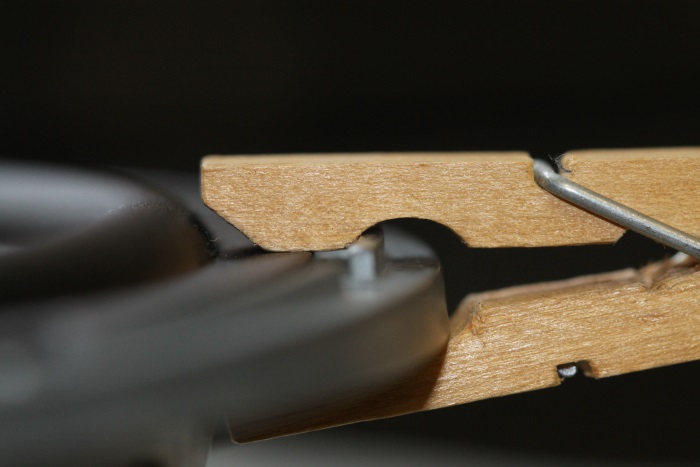
Four is the absolute minimum, more is better because your work is more precise.
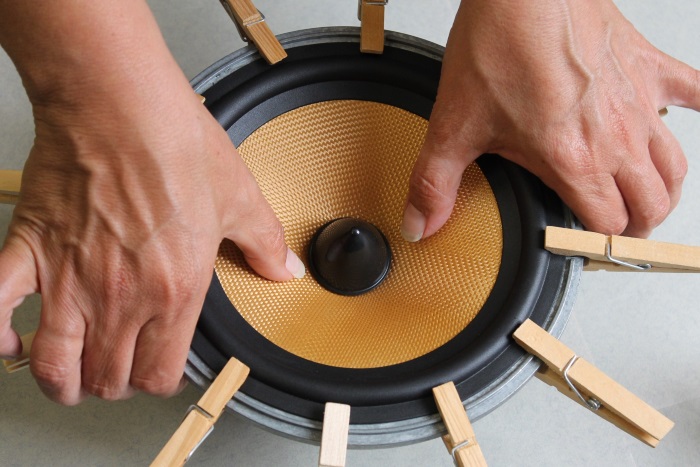
Now feel, by carefully pressing the woofer downwards, if the woofer 'runs free'. You can also play a sound signal on the woofer for this. If this is not the case, center the woofer. Look for step 5 in the link.
Then you can place a weight on the outer lip, or let the cloth pegs / squeezers do the job. The glue will have to dry again for 12 hours.
Scary? Afraid to do this yourself? Please contact us, we can provide you with contact details of experienced service personnel for whom this is a piece of cake.
© Good Hifi VOF