- Home
- Instructions
- Replacing speaker cloth
Replacing speaker cloth
Replace your speaker cloth.
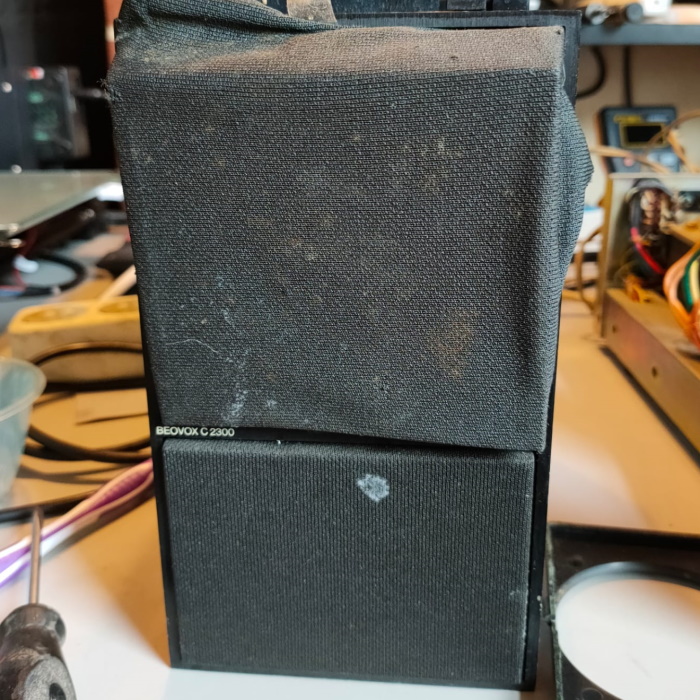
For this repair you need:
- Sufficient speaker cloth
- Glue
- Scissors
- A chisel / knife
- Sandpaper
- A pair of pliers
- Aipe
- Degreasing agent, for example, ammonia
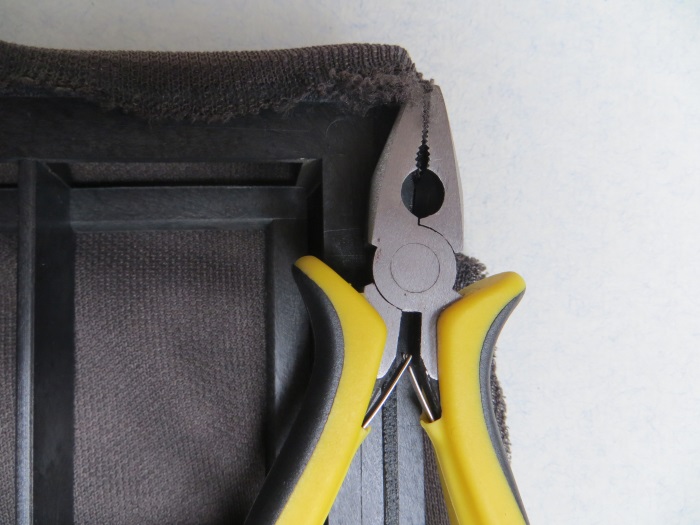
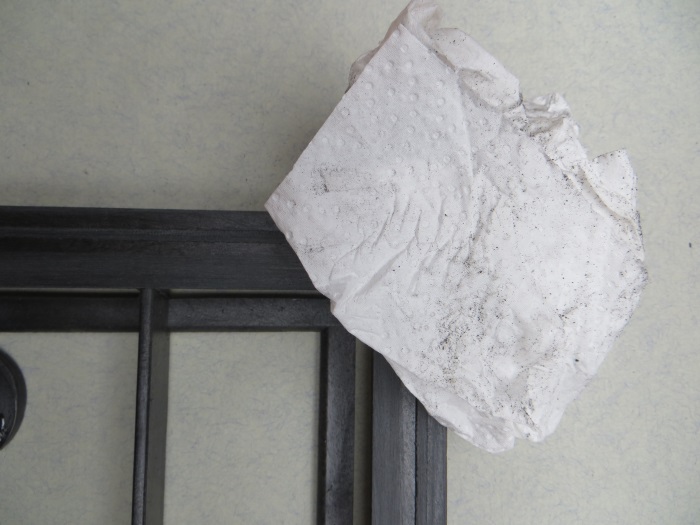
Remove the old loudspeaker cloth of the frame. Sometimes it's so well glued you need pliers to remove it.
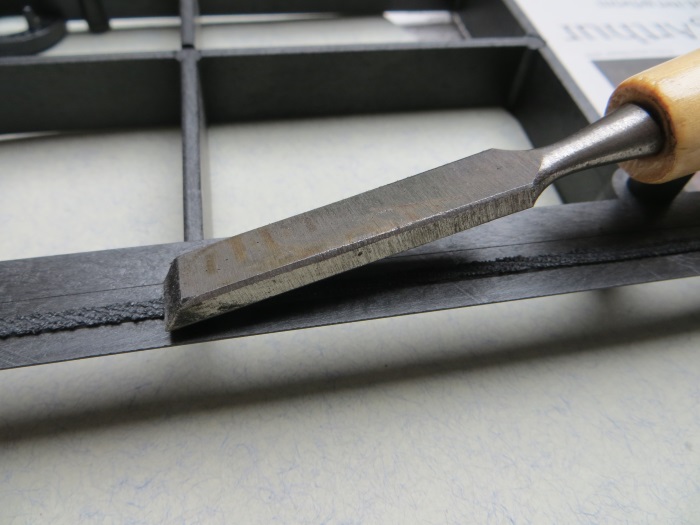
Remove the adhesive residue from the frame with a chisel.
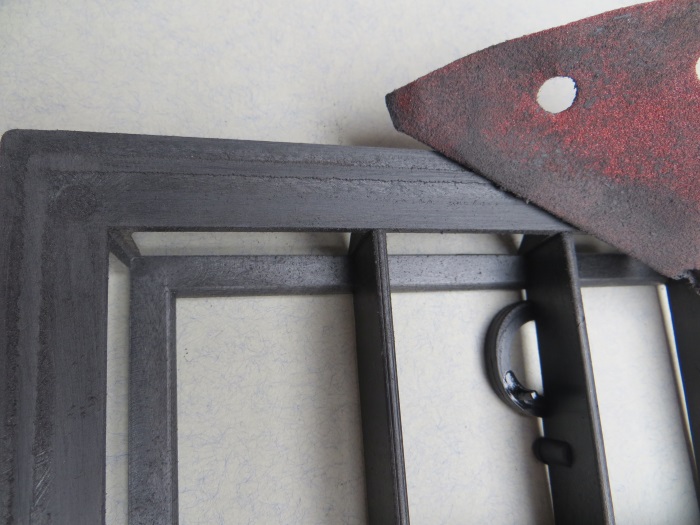
Make the frame a bit rougher with sandpaper so that the new adhesive will bond well.
Wipe the frame to clean it, preferably with a degreasing agent.
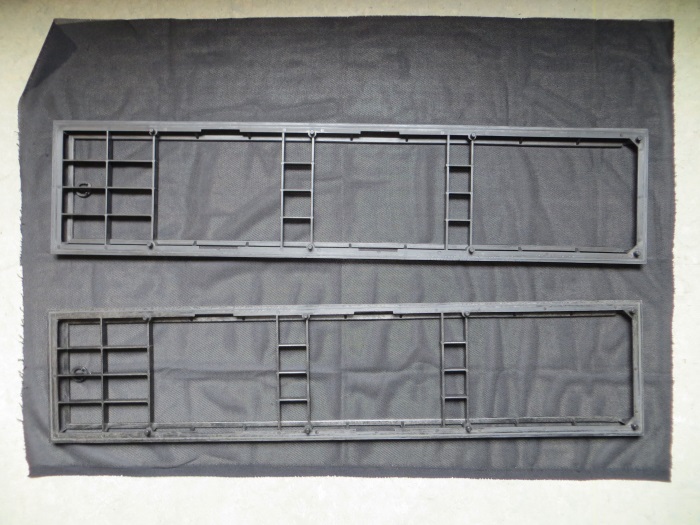
Place the frame / frames on the loudspeaker cloth. If you use two pieces of cloth for two frames make sure you check the weaving (whiff) is the same for both. If the direction of the weaving is different there will be an (optical) color difference. This can be overcome by ordering a larger piece of cloth (for example, 2 x 1 meter). You can specify it in your order in the 'comments field'.
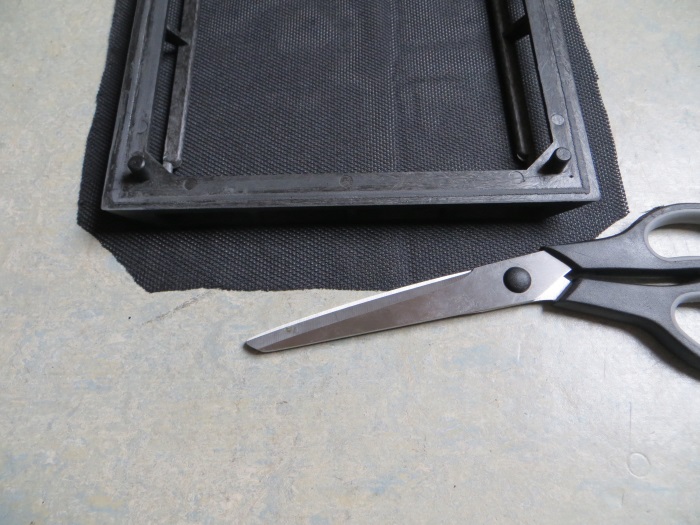
Cut the speaker cloth tailored for each frame. Cut large enough to hold a wafer edge around.
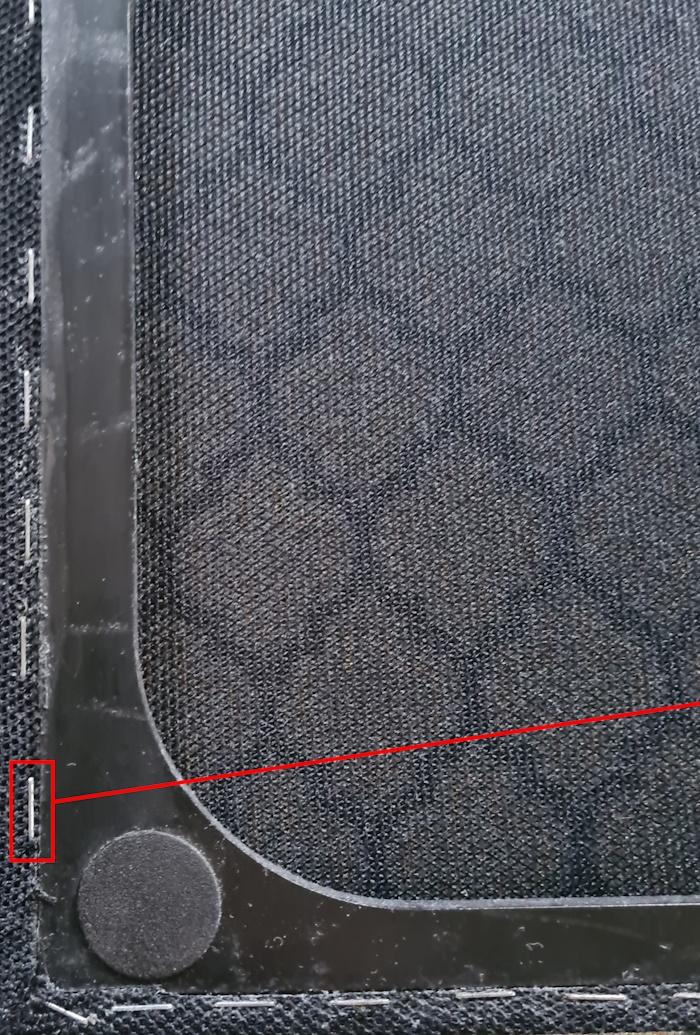
In some cases, staples can be useful when stretching the fabric. Preferably combined with glue.
Coat the frame with glue. Don't use too little.
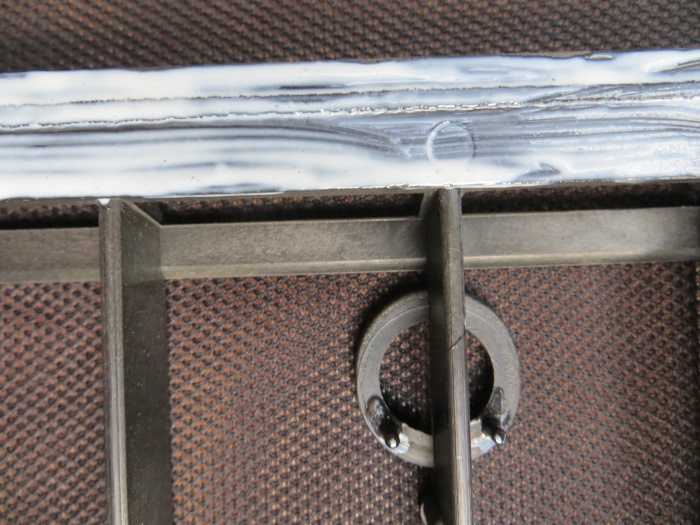
Wait for the glue to be nearly dry - the glue is nearly transparant.
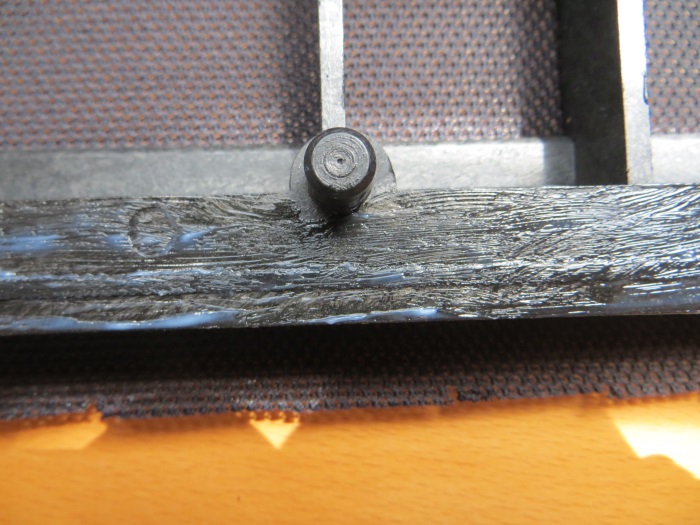
Glue the speaker cloth to the speaker frame.
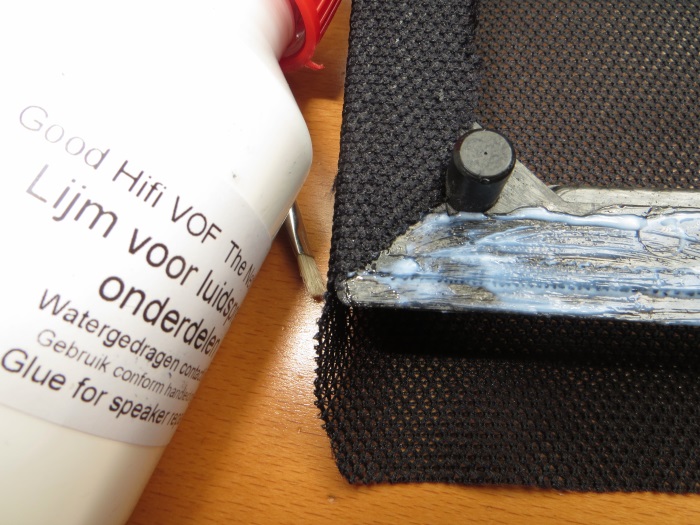
Fold the speaker cloth tightly around the frame, we glued the long sides first and then the short sides. At the corners, you can use some extra glue.
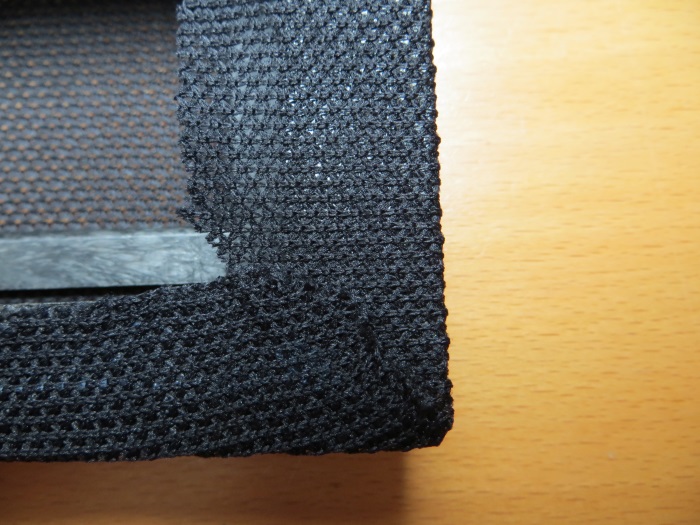
Cut off the excess speaker cloth.
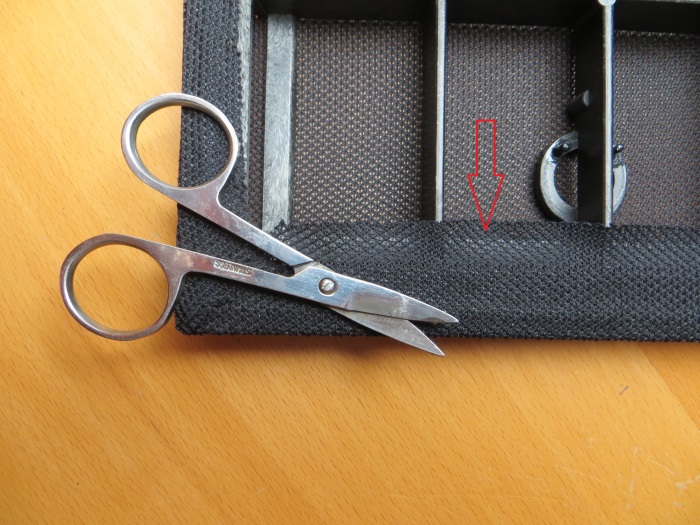
And finished! We use a coarse black speaker cloth to repair this loudspeaker.
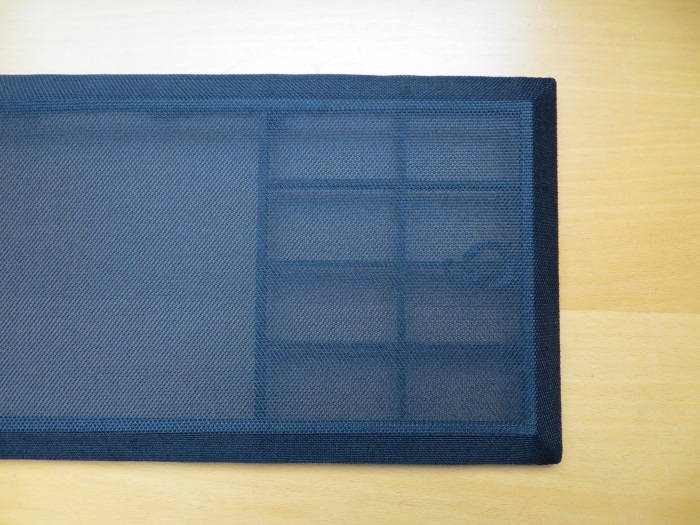
Extra tip, stretch the fabric on large frames:
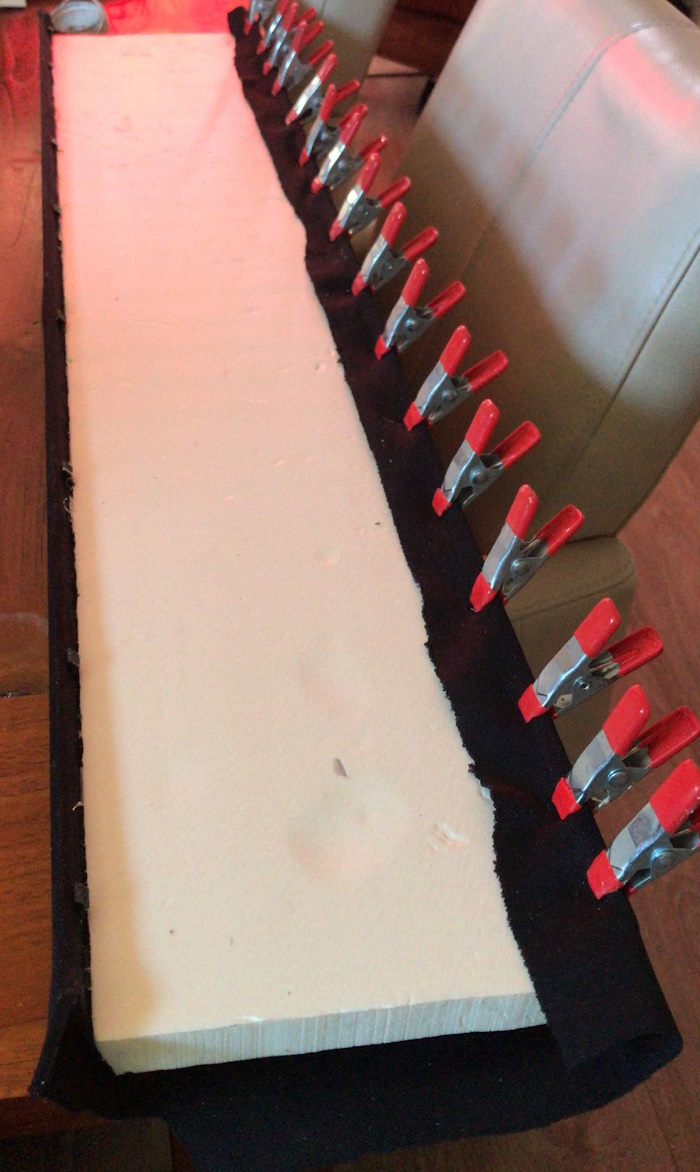
Large grilles, such as those of the Beolab Penta, are sometimes very flexible. So flexible that it is very difficult to stretch the speaker cloth (nicely) tight because the frame 'bends'. We received the above tip from a customer: a piece of styrofoam in the frame gives the frame more rigidity when the canvas is stretched.
© Good Hifi VOF


 Nederlands
 Deutsch