- Home
- Instructions
- Tweeter repair
- Replace ferrofluid in tweeter
Replace ferrofluid in tweeter
Replace ferrofluid by yourself - a manual on the basis of a B&W DM500 and DM600 series (ZZ05460) tweeter.
The coil of modern tweeters is sometimes damped with ferrofluid - this is to improve the sound quality. Over time, however, the ferrofluid hardens and must be replaced. Here you find a roadmap for replacing ferrofluid in a number of pictures.
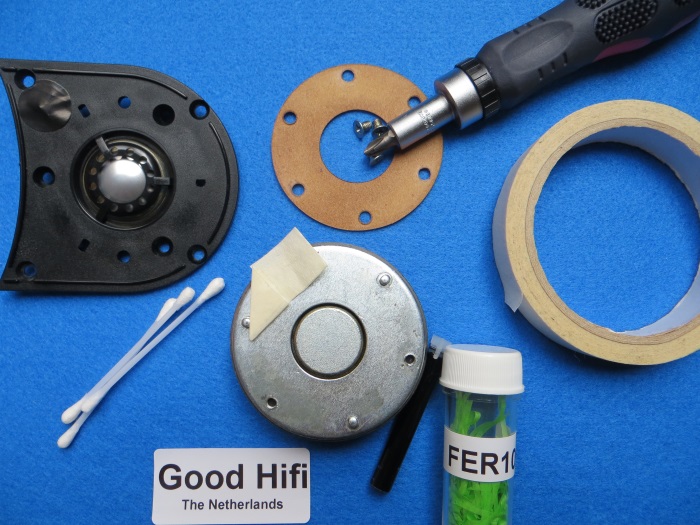
An overview of what we will encounter during the repair ....
You need:
- Ferro Fluid suitable for tweeters (not the cheap one for educational purposes)
- A screwdriver fitting the screws of your tweeter
- White masking tape
- Cotton swabs (with alcohol) - sometimes needed
The tweeter (ZZ05460) in the picture below is completely disassembled.
It is important that you perform this repair in a clean / dust free environment. At least clean your work surface with a wet cloth before you begin. Don't perform this repair in a dusty garage!
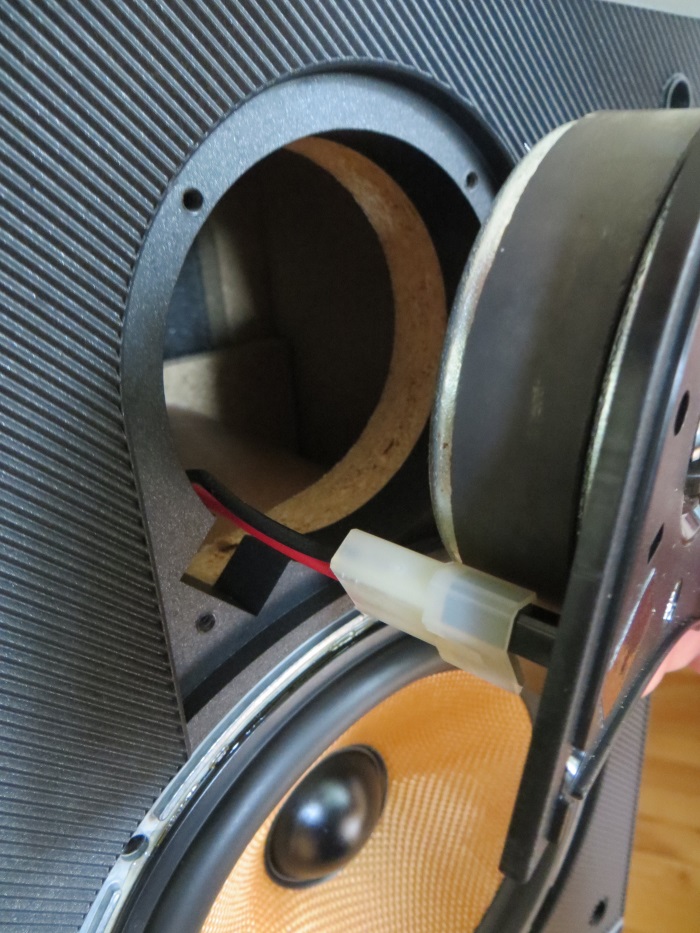
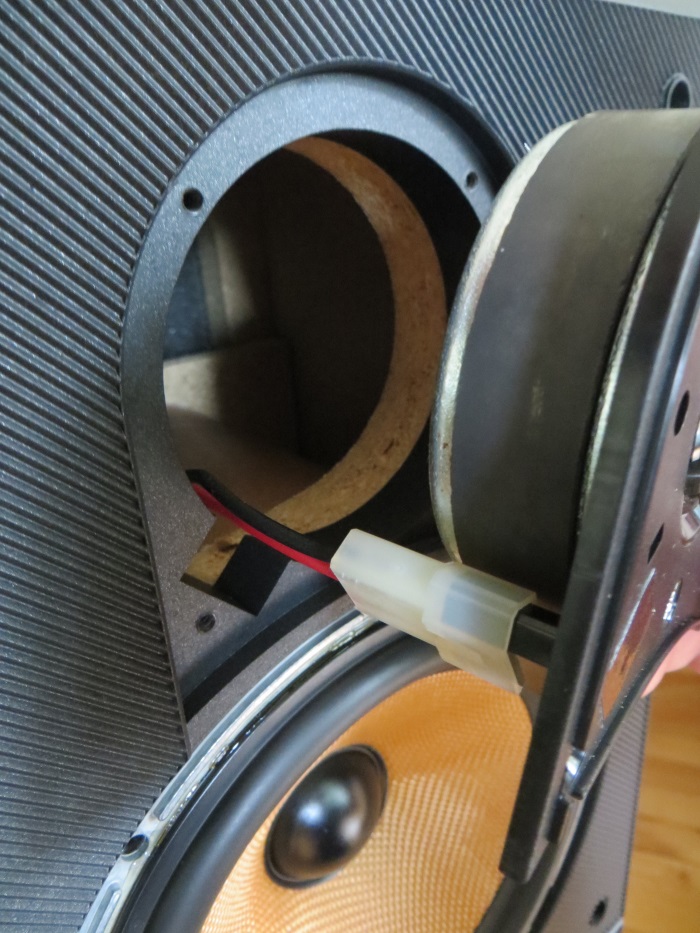
Remove the tweeter from the speaker cabinet. The way in which may vary, but in this case the tweeter is simply unscrewed. Behind the tweeter is usually a foam ring that closes the tweeter airtight - keep it well because you'll have to put it back after the repair. If you are not sure how the tweeter should be connected after the repair mark the wires and make some pictures for your reference! In rare cases, the tweeter's soldered to the wiring and you'll need a soldering iron.
Clear the diaphragm from the magnet. In many cases, the diaphragm is screwed onto the magnet. Sitting in the magnet the diaphragm usually has small holes fitting into 'pins' on the magnet. This way the diaphragm is centered. Be careful with the diaphragm, as opposed to the magnet both the dome and the coil are very vulnerable. Make sure that the coil (on the rear side of the diaphragm) is clean. This is usually the case. Is the coil not clean (there are remains ferrofluid to be seen on the coil) rinse it gently with a cotton swab with some alcohol on it. Place the diaphragm in a safe place before proceeding.
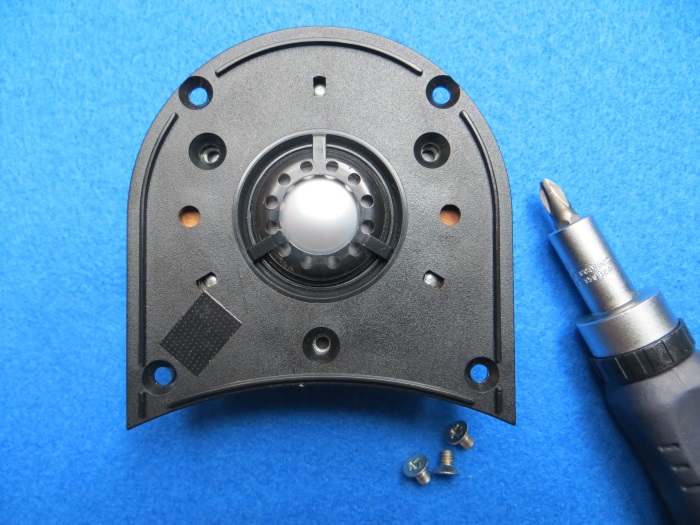
Below the diaphragm there is a gasket in a number of cases. Take it off and put it away, until after the repair.
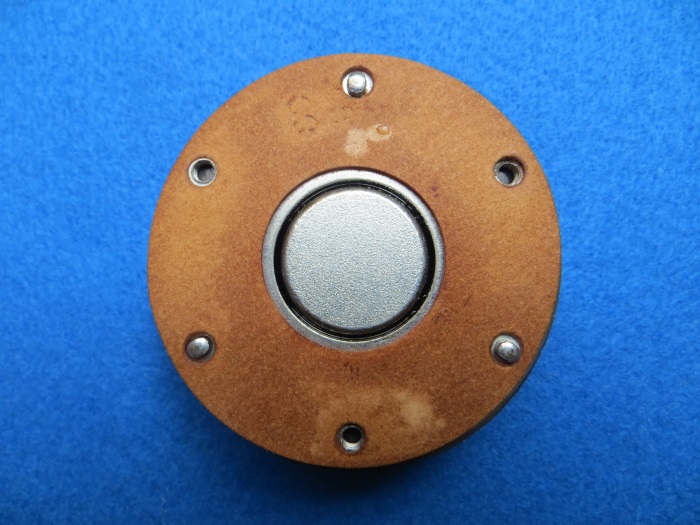
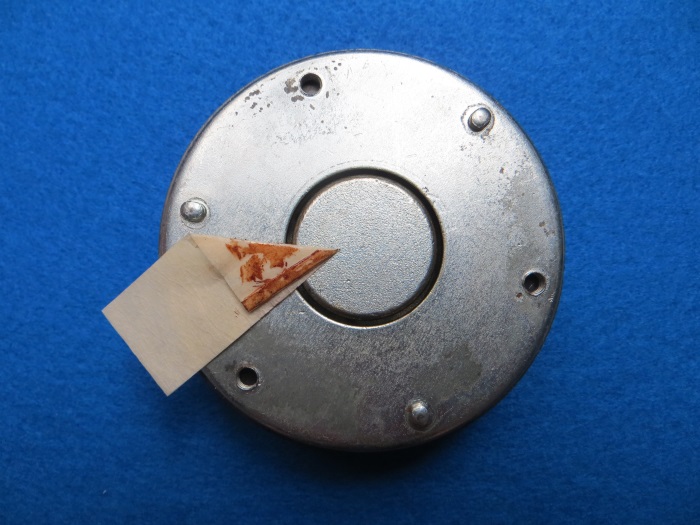
You are going to remove the old ferrofluid. You will use white masking tape. Tear a piece off.
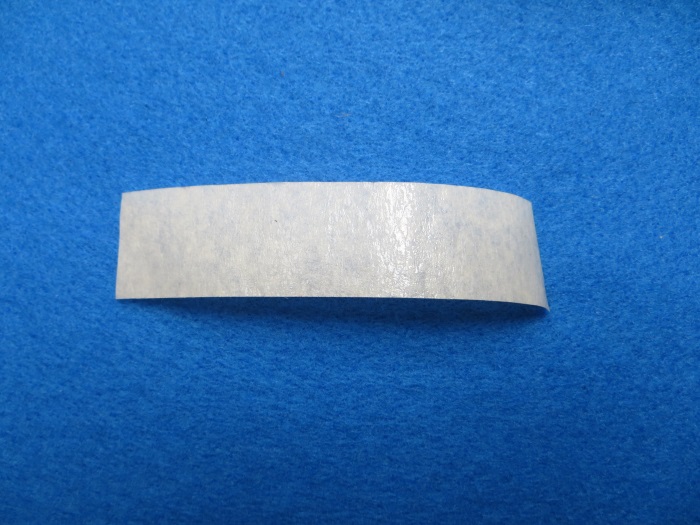
Fold the tip of the tape with the sticky side on the outside.
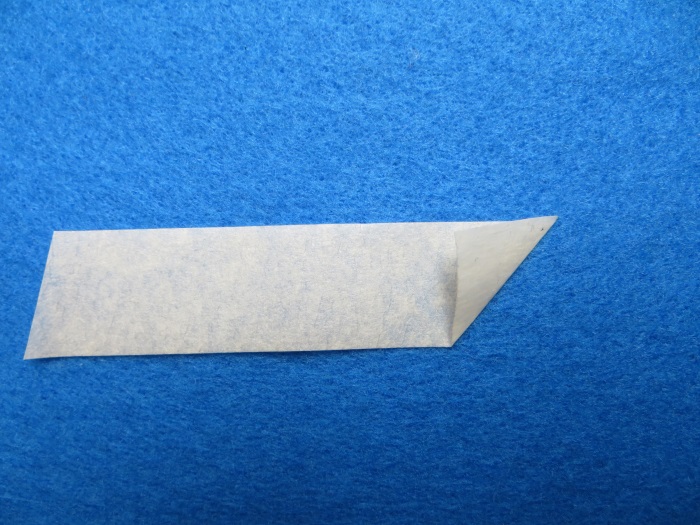
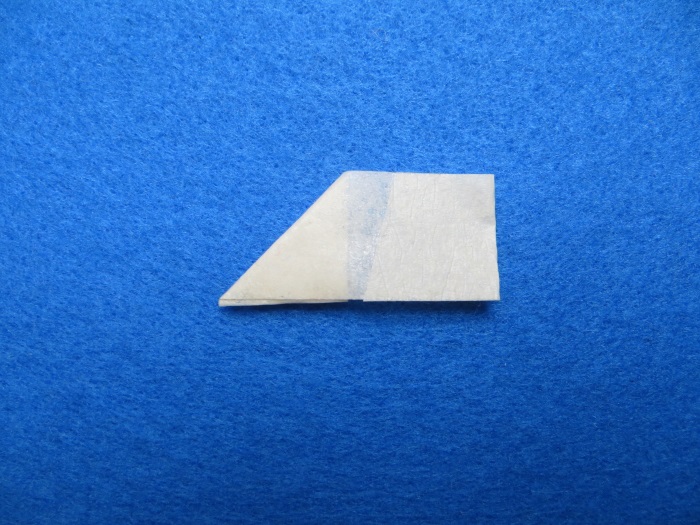
Repeat this several times until you have a solid piece of tape with the sticky side on the outside. This tape will remove the old ferrofluid in the air gap in the magnet.
Put your piece of masking tape in the air gap of the magnet and move it around circularly. The old, mucky, ferrofluid will stick to the tape.
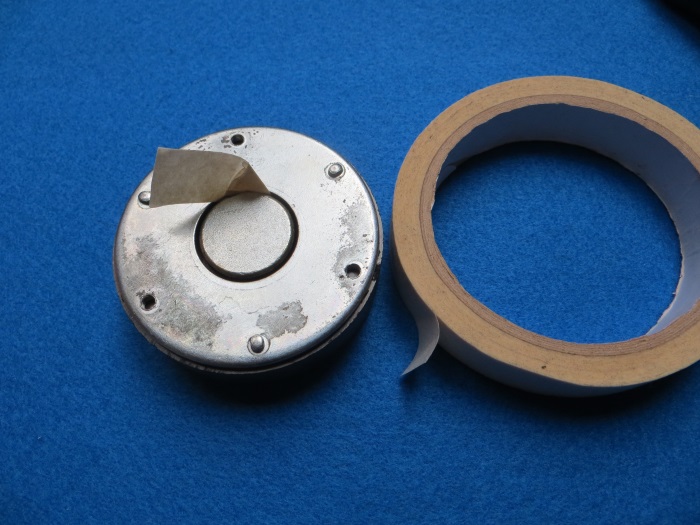
The tape is filled with 'dirt', take a new piece. Move the (clean) tape around as long as ferrofluid comes out. If you put in a new piece of tape and it comes out totally clean you're fine.
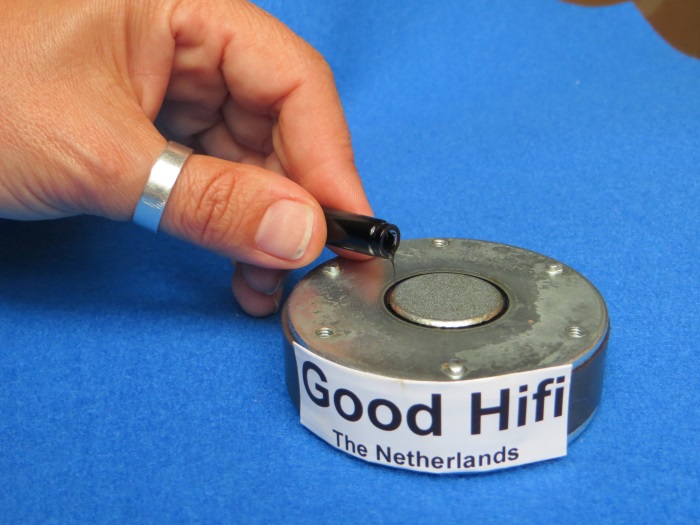
Apply a small amount of new ferrofluid into the air gap. Don't fill the crack completely, a few drops are enough! The most common mistake at this stage is too much ferrofluid being applied.
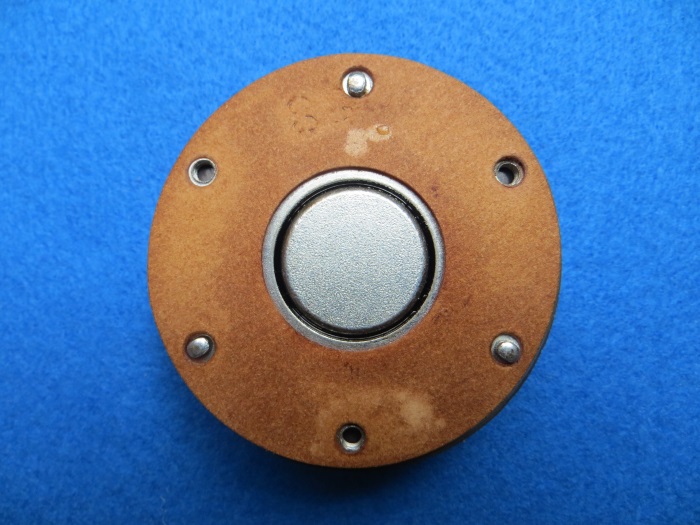
Place the gasket back onto the magnet.
Place the diaphragm carefully back. Make sure the holes in the diaphragm are exactly over the pins on the magnet, so your tweeter is correctly centered and the voice-coil is in the air gap of the magnet. Set the diaphragm using the screws again.
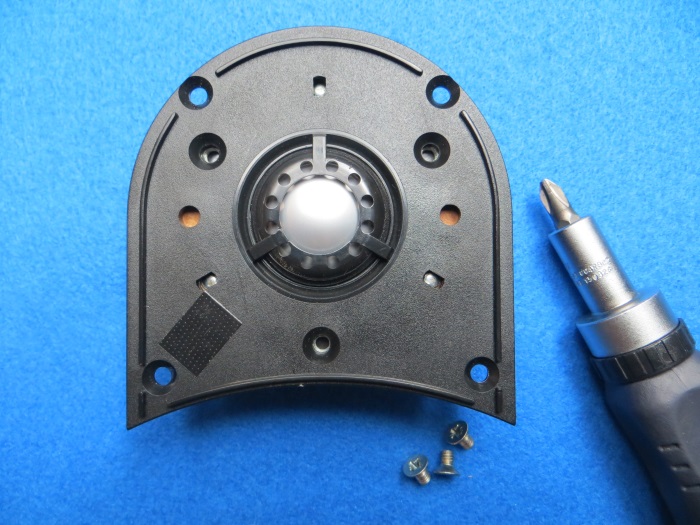
Place the tweeter back into the cabinet. If there was a sealing ring, place it back before connecting the wires. Connect the wiring correctly in accordance with the marking (s) that you made earlier.
© Good Hifi VOF


 Nederlands
 Deutsch