- Home
- Instructions
- Tweeter repair
- Glue Nautilus horn on B&W tweeter
Glue Nautilus horn on B&W tweeter
Many B&W tweeters from modern series are equipped with a Nautilus horn. This is a tapered hollow plastic tube that is mounted on the back of the tweeter to absorb certain reflections in the sound.
B&W tweeter with Nautilus horn
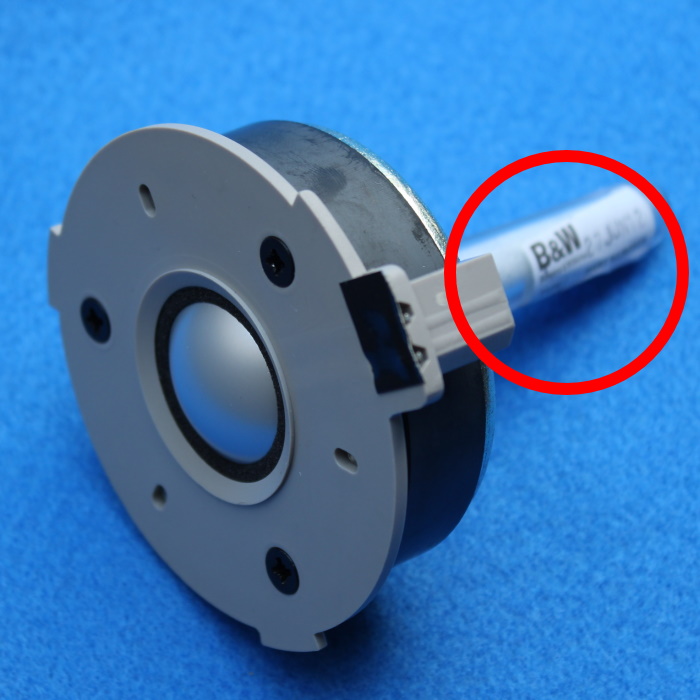
Unfortunately, the Nautilus horn is not always glued firmly to the magnet. When the new tweeter is taken out of the box, or you remove the tweeter from the speaker cabinet, the horn may come off. Because the horn improves the sound quality, it is advisable to replace the horn. We explain how.
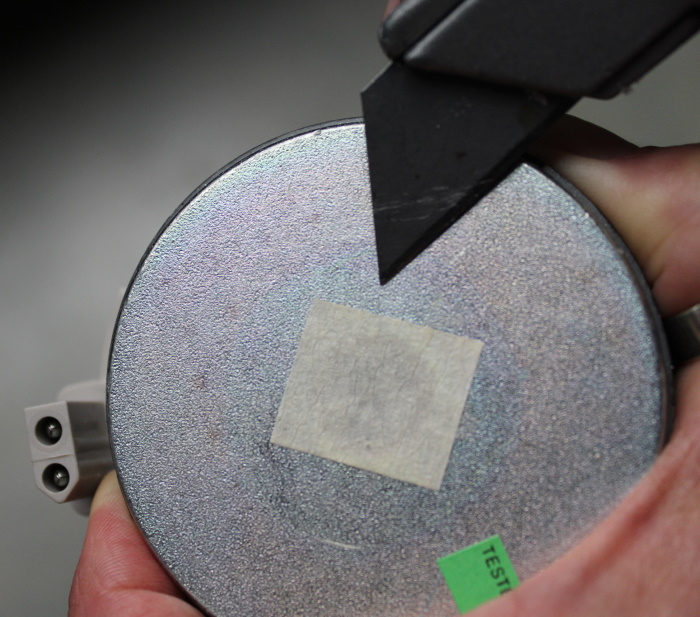
Step 1: Remove the old adhesive residue from the tweeter magnet.
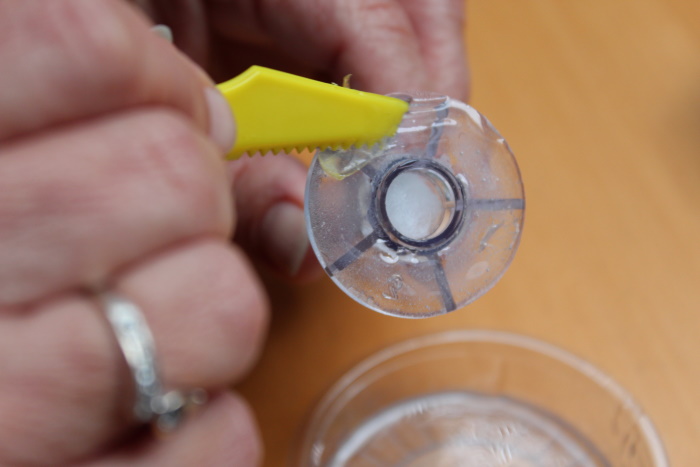
To prevent glue residue from getting into the tweeter, cover the hole of the Nautilus horn with masking tape. Then you can (mechanically) remove the old glue residues with a knife.
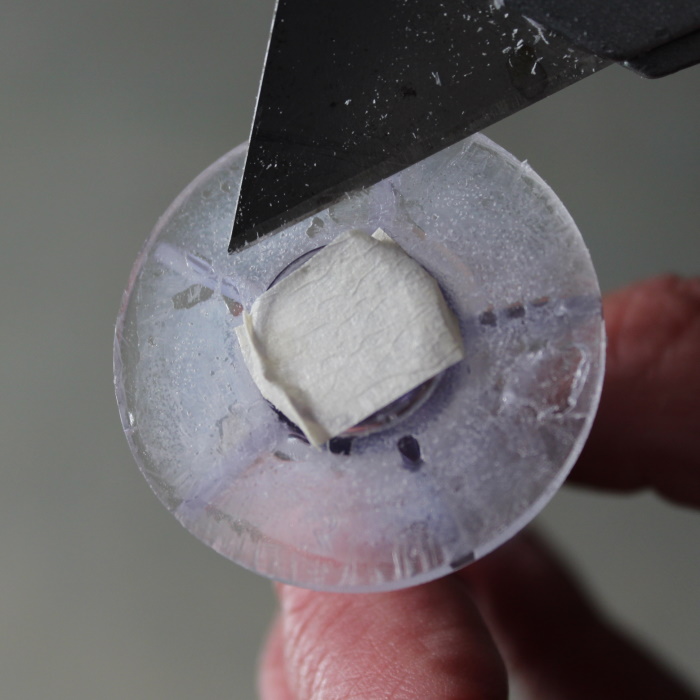
Step 2: Cleaning the Nautilus horn
Now do the same with the Nautilus horn. Cover the hole with masking tape and remove the adhesive from the face contacting the tweeter.
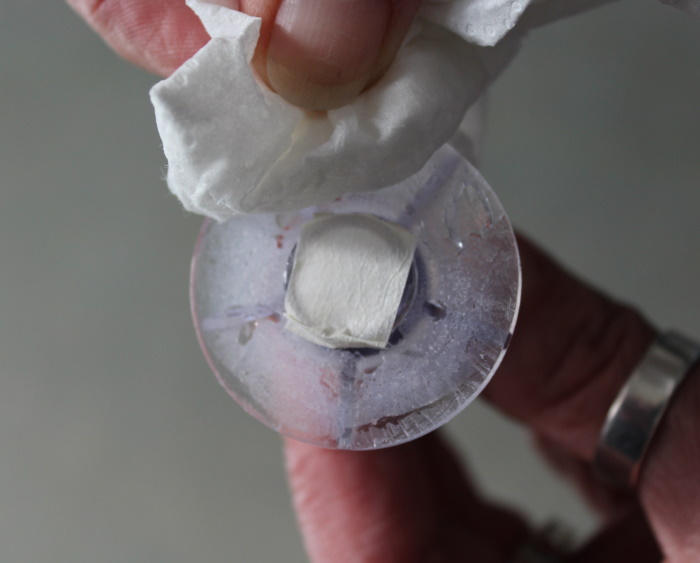
Step 3: clean and degrease both surfaces.
Now clean and degrease both contact surfaces, both the Nautilus horn and the magnet of the tweeter.
Step 4: apply glue
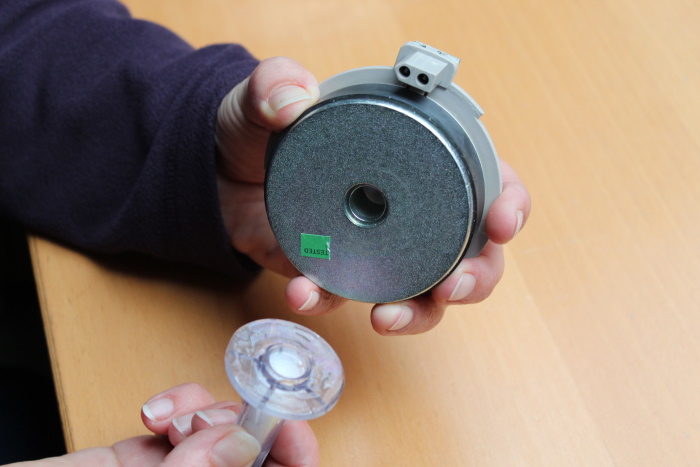
Now remove the masking tape covering the holes of the horn and the tweeter. Apply a thin layer of two-part adhesive to the contact surface of the Nautilus horn. Make sure to use an adhesive that adheres to both metals and plastic.
Step 5: Glue the Nautilus horn back to the tweeter magnet
Slowly slide the head of the Nautilus horn into the hole in the magnet, making sure the horn's face is in contact with the magnet. Do not make any abrupt movements. Pushing the horn into the magnet too quickly can increase the pressure in the tweeter and damage the dome of the tweeter. Let the glue dry in accordance with the manual.
Note: the reverse can happen if you remove the Nautilus horn too roughly / quickly. This creates a temporary vacuum that can crush the dome of the tweeter.
© Good Hifi VOF


 Nederlands
 Deutsch