- Home
- Instructions
- Replace tweeter diaphragm
- B&W N801S (TS26 80) tweeter
B&W N801S (TS26 80) tweeter
Replace the diaphragm of a B&W N801S (TS26 80) tweeter
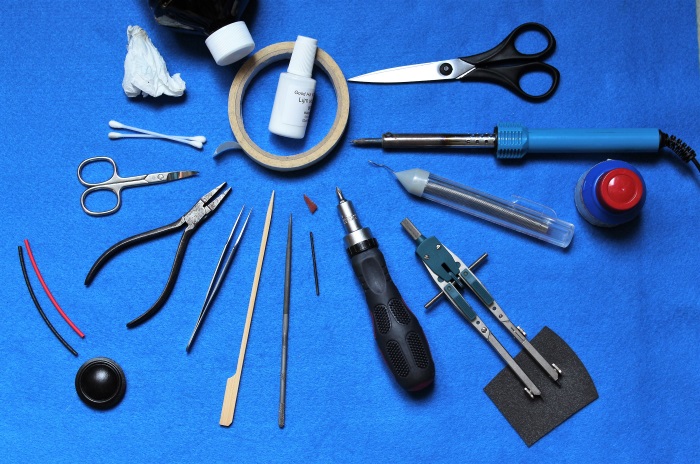
Required for this repair are:
- A diaphragm
- Loudspeaker glue
- Shrink tubing if needed
- Soldering tools (iron, tin, etc)
- A screwdriver
- Scissors
- A passer
- A piece of solid cardboard of approx. 1 m thick
- White paper tape / masking tape
- Spritus
- Cotton swabs
- A 2 mm drill / round file
- etc. see below
Everything needed for the repair ....
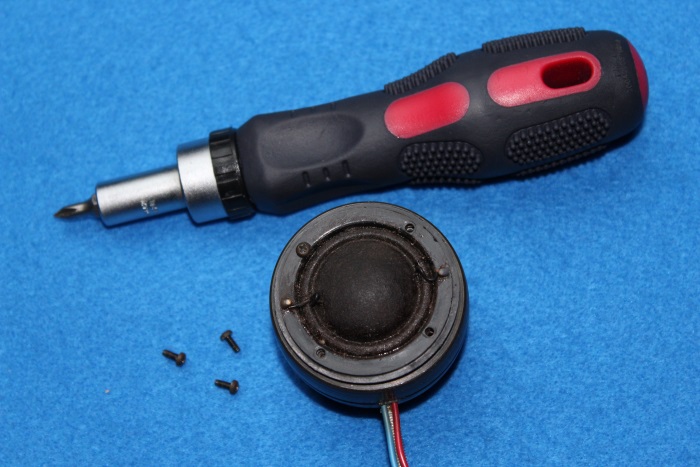
Unscrew the diaphragm screws after the tweeter has been removed from the cabinet, and the tweeter has been removed from the housing. Use the right size screwdriver - all parts including the screws (except the diaphragm) will be reused.
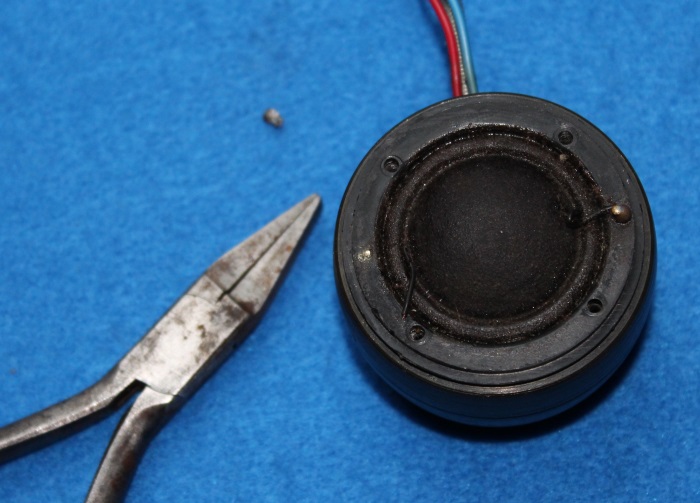
Now remove the tin bulbs (connecting the front of the diaphragm wires) with a flat plier.
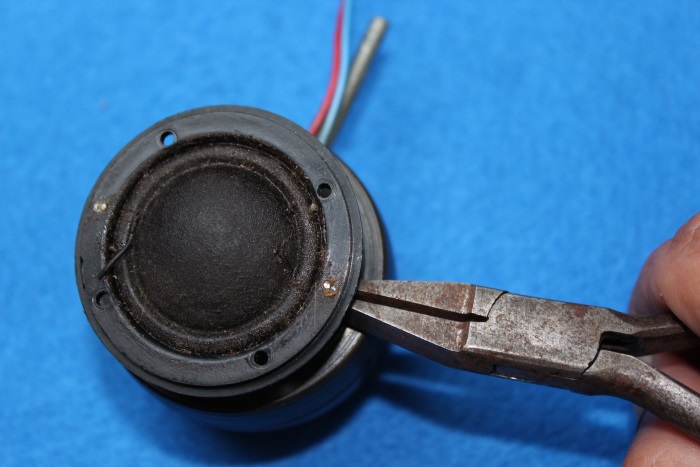
Carefully remove the plastic cap from the magnet by lifting it. Do not damage anything - the plastic cap will also be reused.
Remove the old diaphragm from the plastic cap. Use, for example, tweezers.
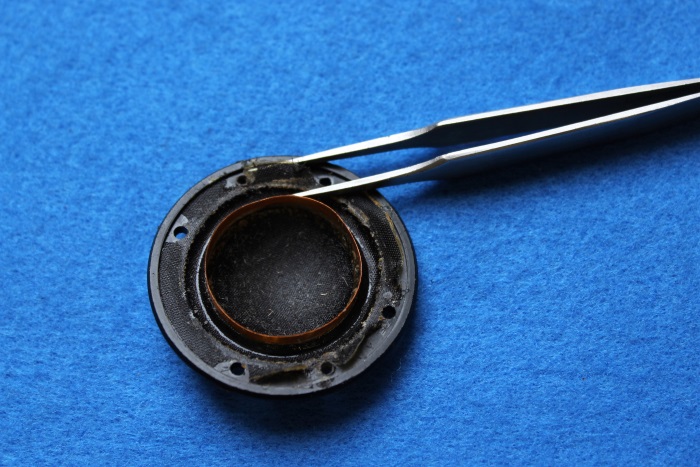
Drill or fill the holes that contained the tin bulbs (connected to the red and blue connecting wires) until they have a diameter of approx. 2 mm. The holes must be large enough to be able to contain the (red and blue) wires of the tweeter.
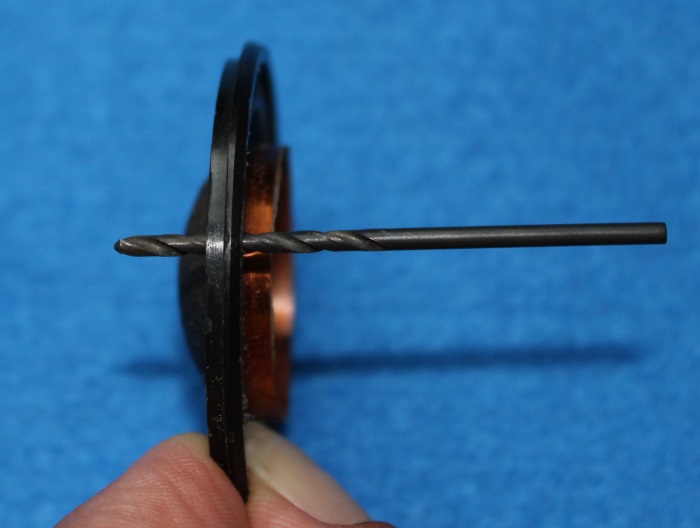
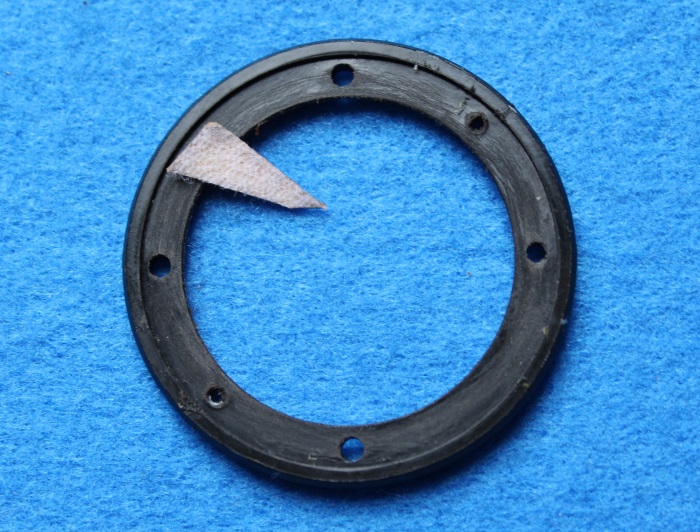
Remove the glue residue from the plastick plate. We used a sandpaper.
Clean the air gap of the magnet, and if needed the white damping dome in the center. For cleaning the air gap we used a piece of folded tape with the sticky side on the outside. Sweep it through the air gap until until the tape returns from the air gap without any residue on it. Use several pieces of folded tape..
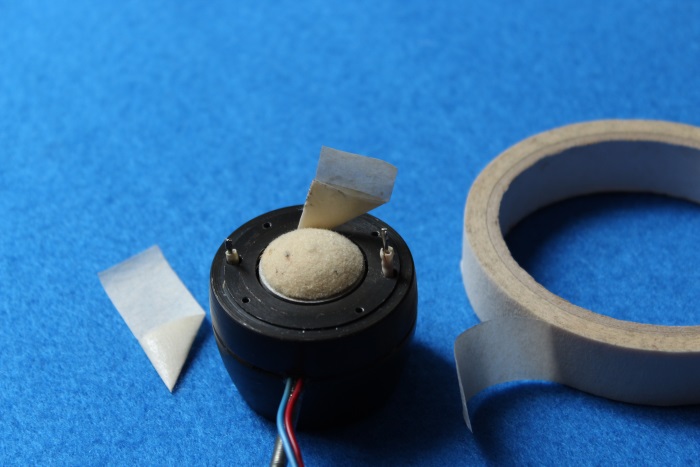
Degrease the front of the magnet.
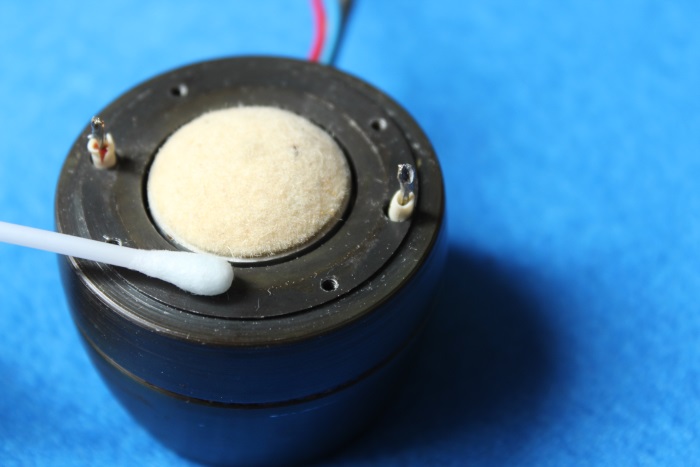
Now the new diaphragm will be glued to the plastic ring. There are a number of things to keep in mind:
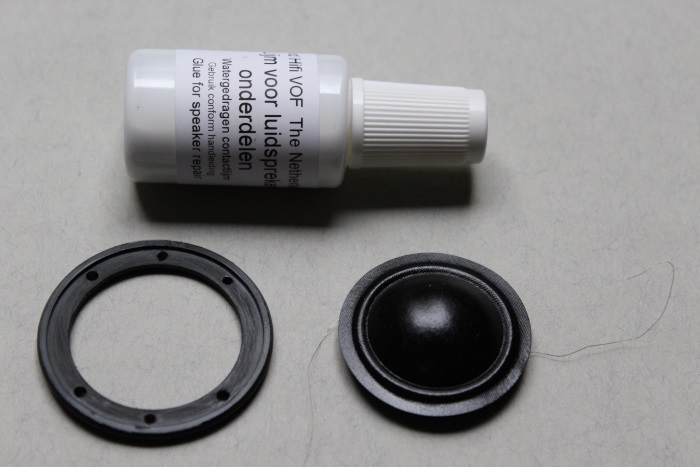
Apply the glue to the ring and on the diaphragm. Wait until the glue is slightly dry, the glue becomes transparent.
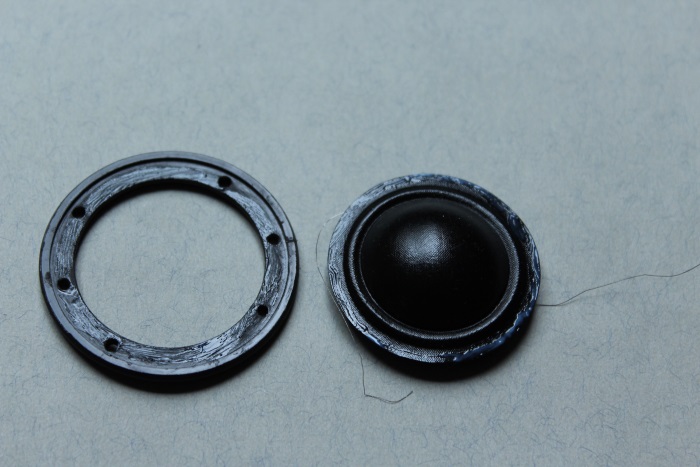
Now glue the diaphragm on the plastick ring. Make sure that:
- The diaphragm is glued precisely to the center / middle of the ring. You can apply pressure while gluing with something flat, we used a bamboo stick.
- The diaphragm connecting wires are located at the holes you drilled / filed before. Later these connecting wires (from the diaphragm coil) will be pulled through these holes.
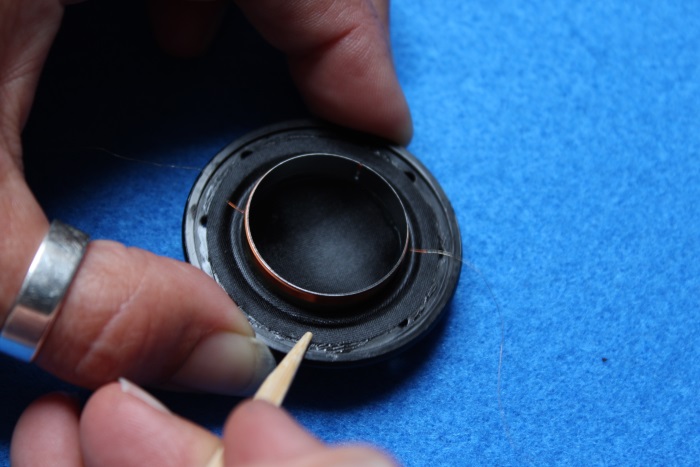
Make a gasket of solid cardboard to apply to the magnet - we used a piece of flat foam for this purpose. This gasket prevents the diaphragm connecting wires from contacting the magnet.
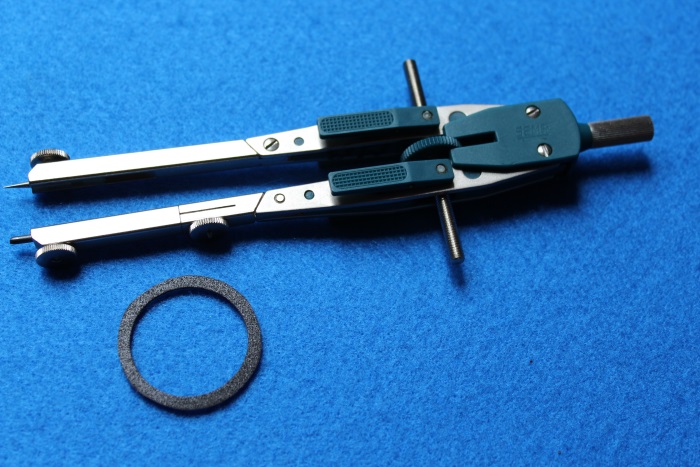
Apply (glue) the gasket to the magnet. Insert the tweeter wires (red and blue) through the holes of the magnet. If necessary, insert a piece of shrink sleeve to prevent the core of the wire from coming into contact with the magnet. Make sure that you clearly know which side of the tweeter contains the red (positive) wire, because you need this information later. Mark this side if necessary.
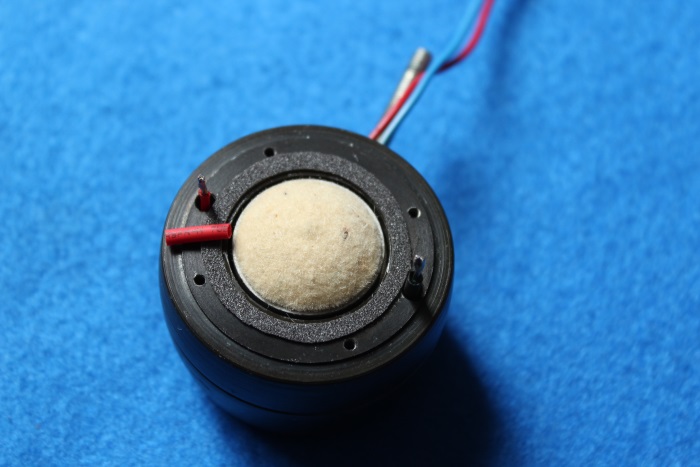
The gasket applied to the magnet, the connecting wires covered with a shrink sleeve, positive side marked.
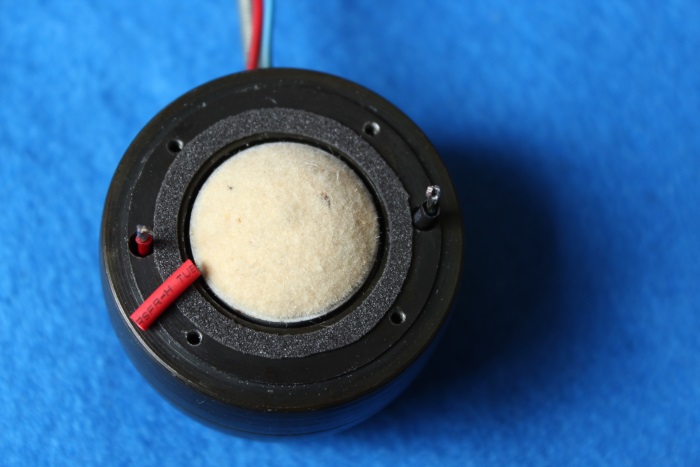
Now remove excess material around the screw holes and the drilled holes.
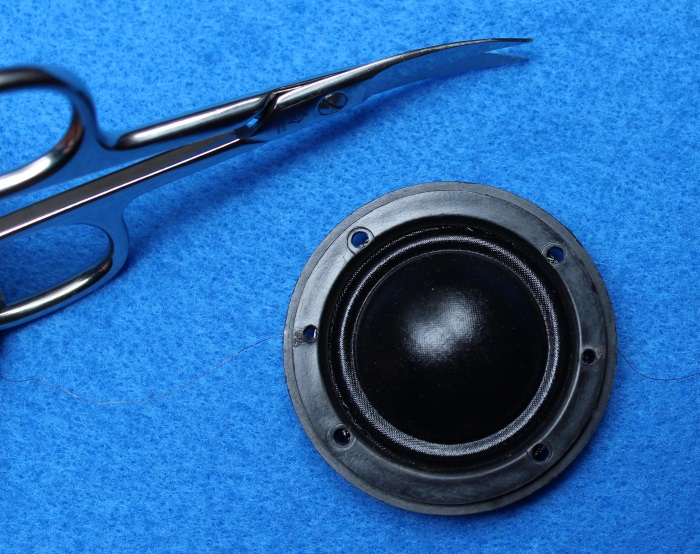
Pull the diaphragm connecting wires through the drilled / filed holes. Make sure that the wires are not too tight on the inside, apply them as shown in the picture. If the wires are too tight they may limit the movement of the membrane. The wire on the side of the blue dot is the postitive (+) connection of the diaphragm and it must be connected to the red wire of the tweeter later.
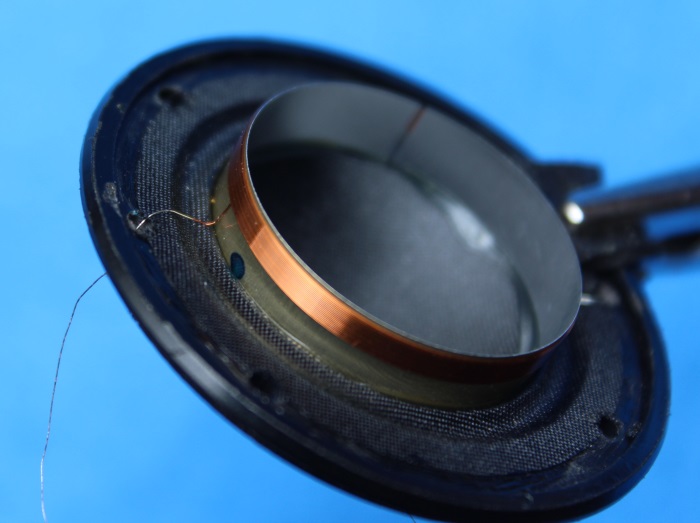
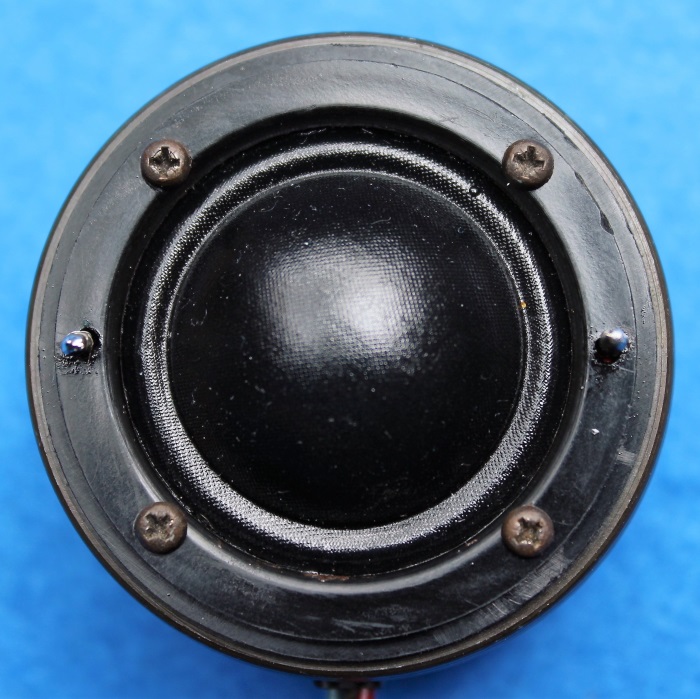
Now carefully put the plastic cap with the diaphragm on top of the magnet. Pul the (red and blue) wires of the tweeter through the drilled / filed holes so that a piece of metal core protrudes on the front. Make sure the red wire is on the side of the diaphragm marked with the blue dot. Both the red and blue tweeter wires (blank metal extends) and the wires of the diaphragm extend outwards now.
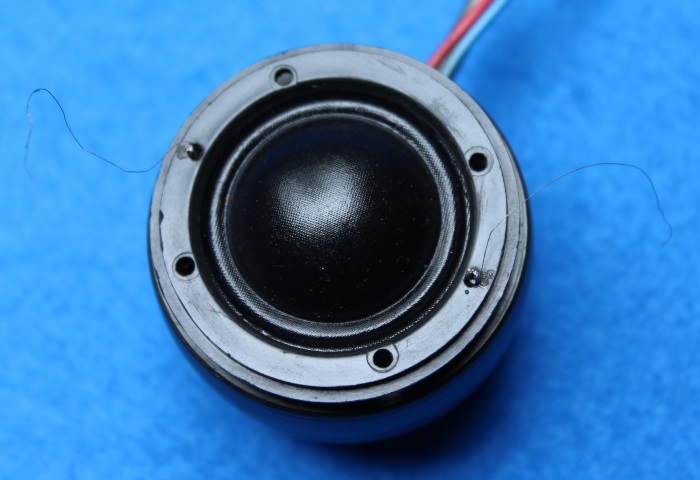
Tighten the four screws, this does not have to be tight. Wrap the diaphragm lead wires around the bare metal core of the (red and blue) wires of the tweeter.
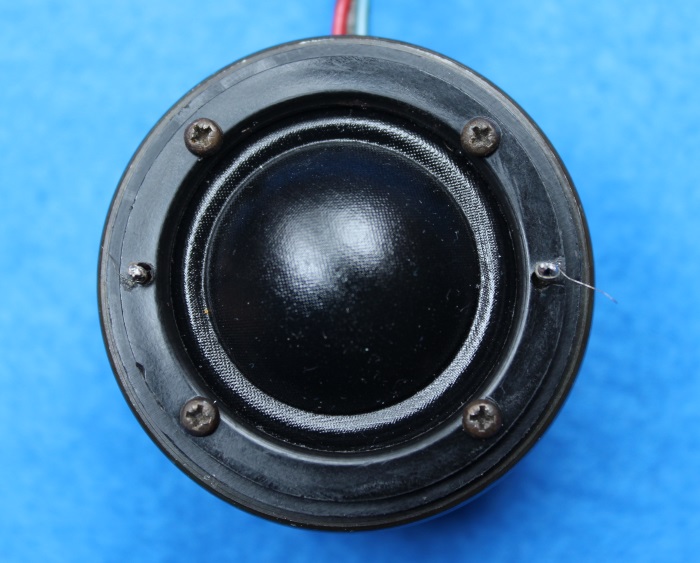
Solder the diaphragm wire to the tweeter's connecting wire. Cut out any excess wire (from the diaphragm).
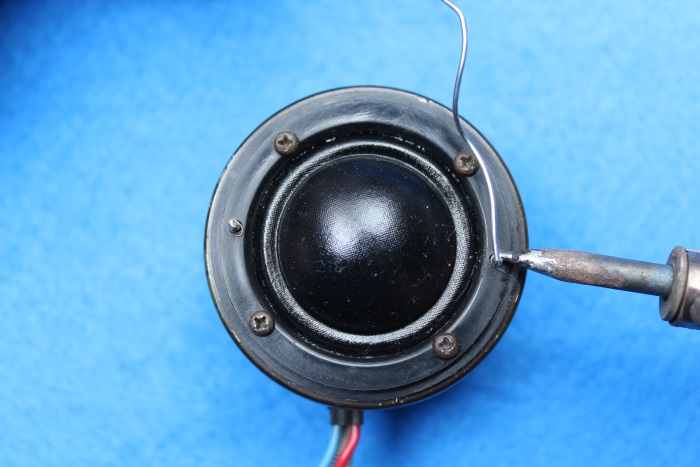
Ready! You might fill the (drilled / filed) holes through which the wires extend with black adhesive.
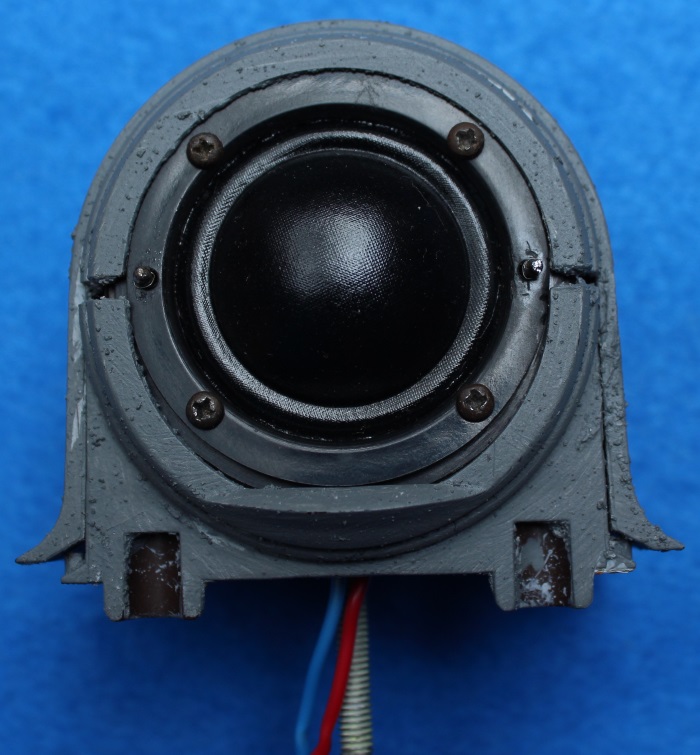
Fit the tweeter into the tweeter housing and mount the tweeter housing on the speaker cabinet.
© Good Hifi VOF


 Nederlands
 Deutsch